

-
 5-8 , 9-10
-
 20 to 60 min
-
 Normal
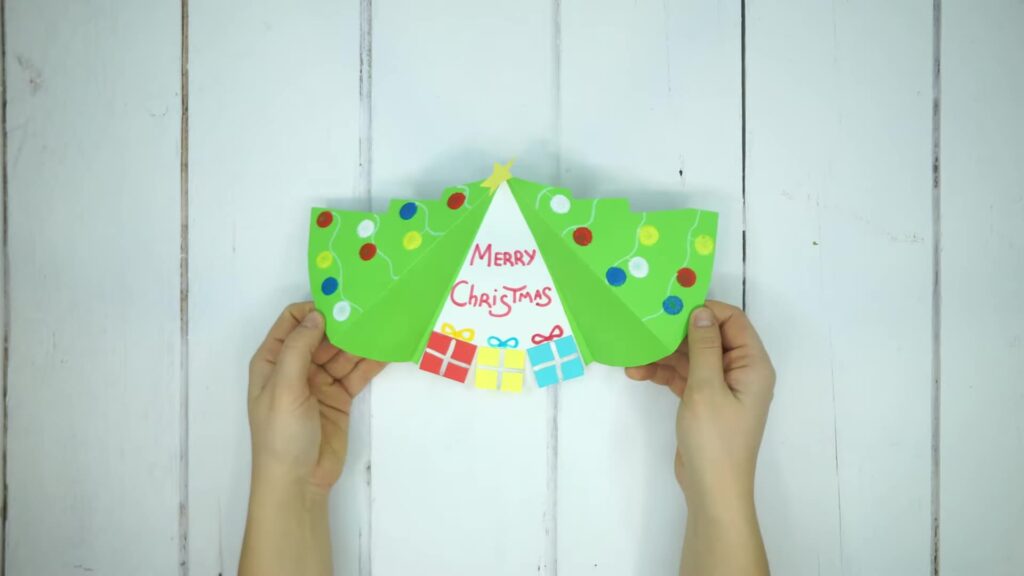
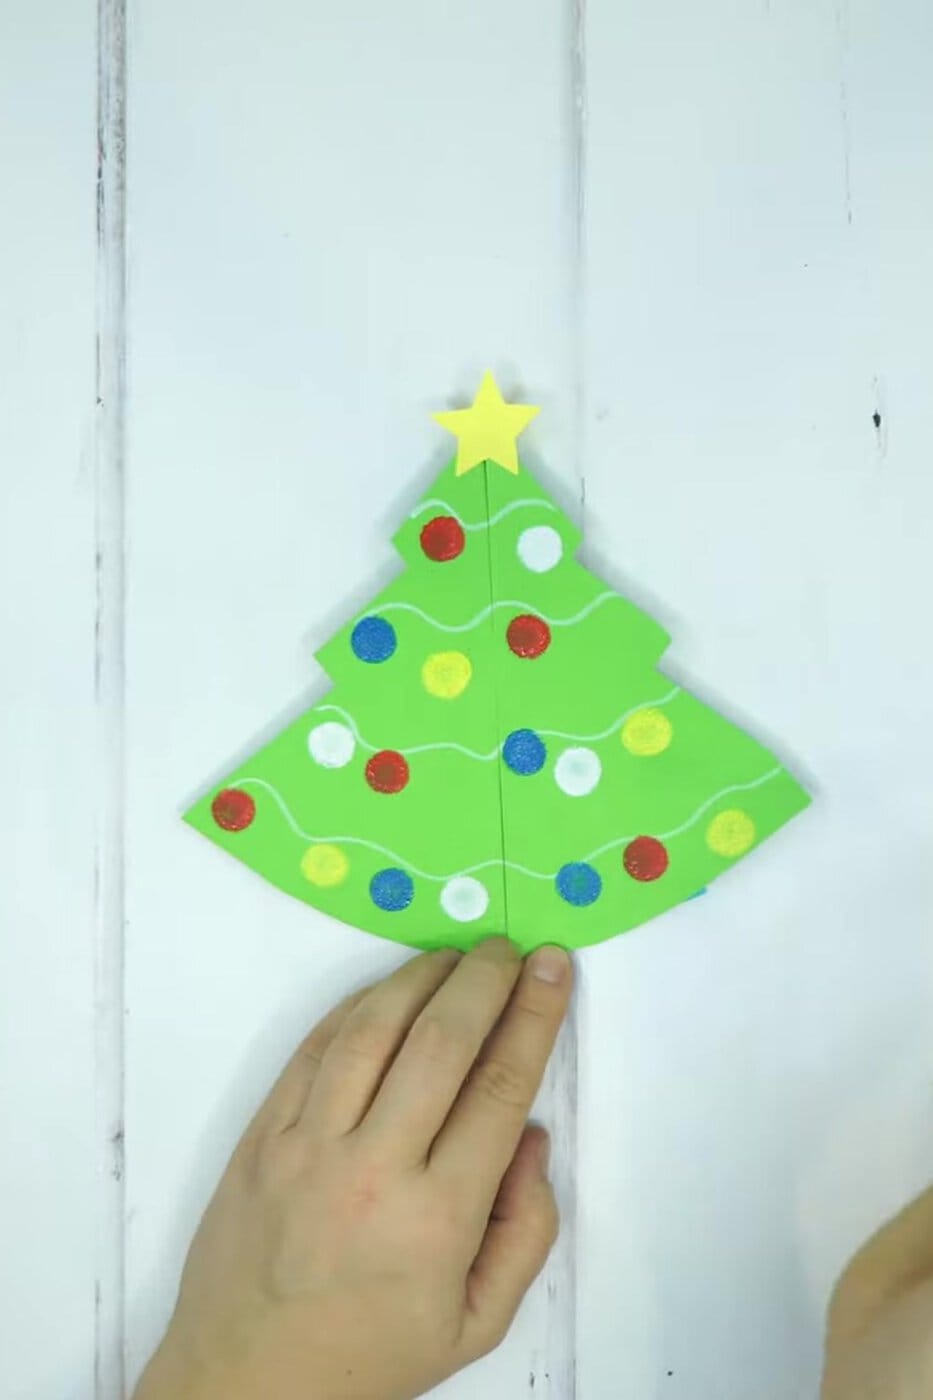
This Christmas tree card is folded from one sheet of green paper. Closed, it’s a little tree with a star, paint-dot baubles and garlands. Open the two sides like doors and there’s “Merry Christmas” inside, with three paper presents under the tree. Lift each present and a tag underneath says what the gift is: love, peace, or anything you choose. Children from about five can decorate it while an adult does most of the folding and cutting; older children can make the whole card. Below the steps there’s a second card to try: a 3D angel Christmas card made from pleated paper fans.
List of Materials
Use ordinary coloured paper or thin card. Thick card is hard to fold into the fan and to cut through once the card is folded. A glue stick is enough for everything here, and it doesn’t make thin paper wrinkle the way runny glue can.
Step by Step Instructions
Lay the green sheet landscape, fold it in half (short edges together) and press the fold. Open it out and mark the middle of the top edge and the middle of the bottom edge with the white pen.
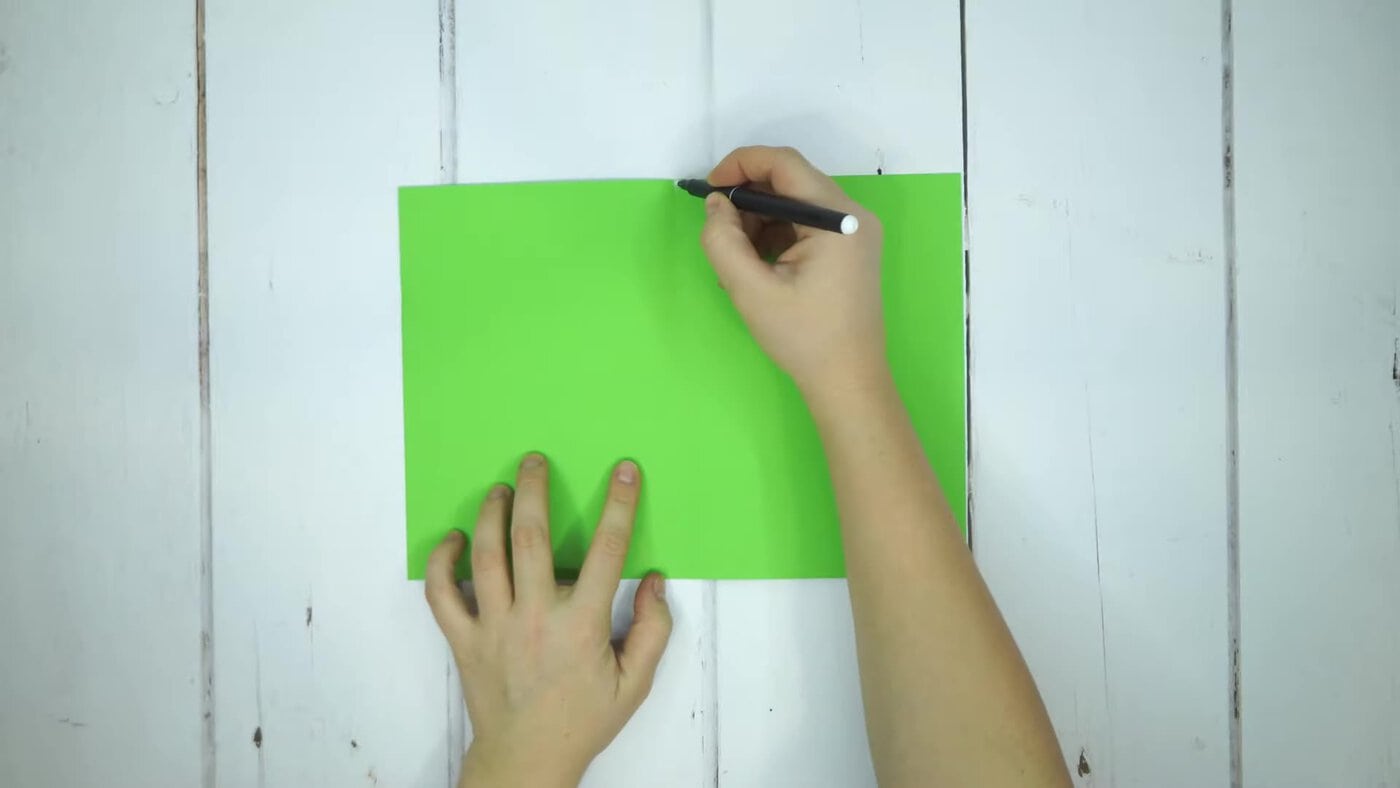
Make a mark on the bottom edge on each side, about a fifth of the way in from each corner. Lay the ruler from the top middle mark to one of these marks.
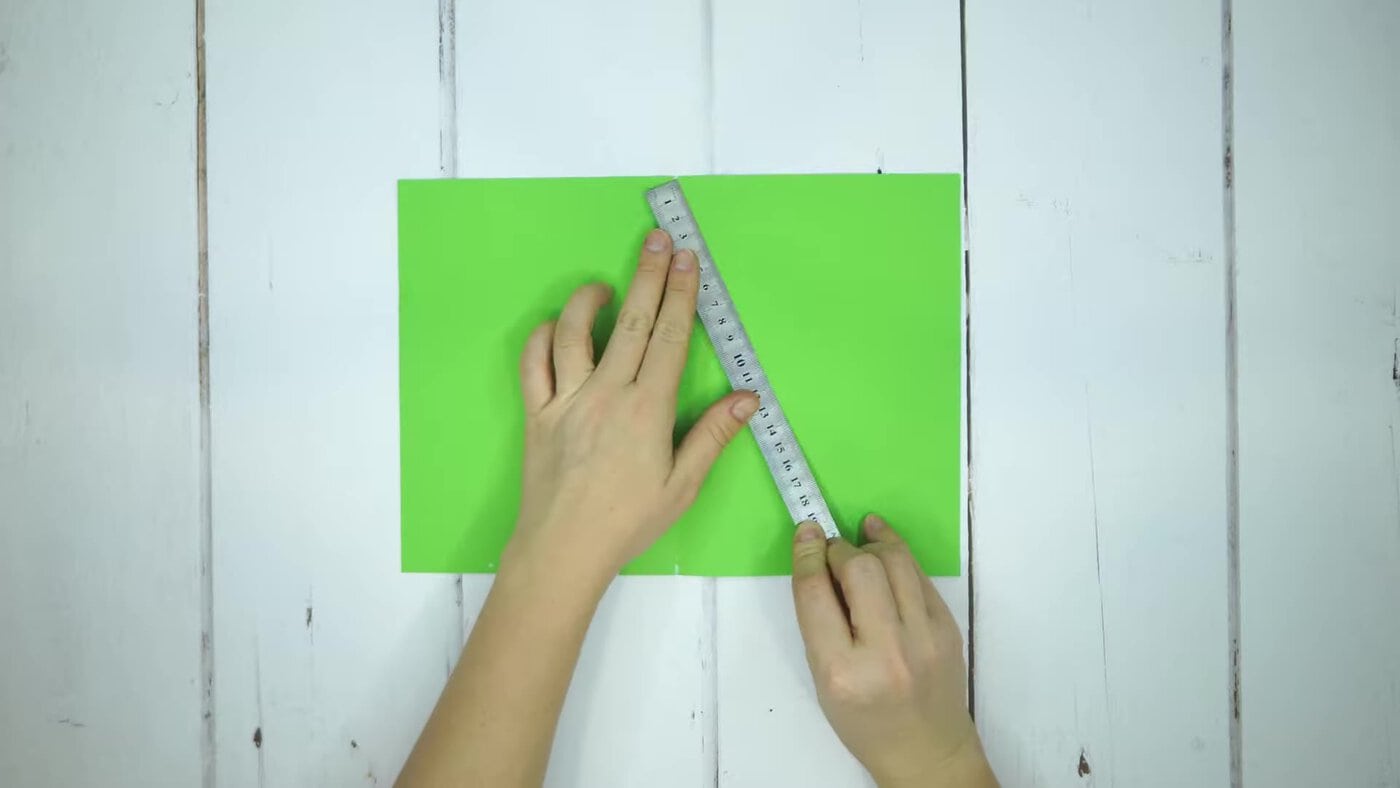
Fold the side over along the ruler, crease it firmly and open it again. Do the same on the other side. Now two diagonal creases meet at the top middle, like a tent.
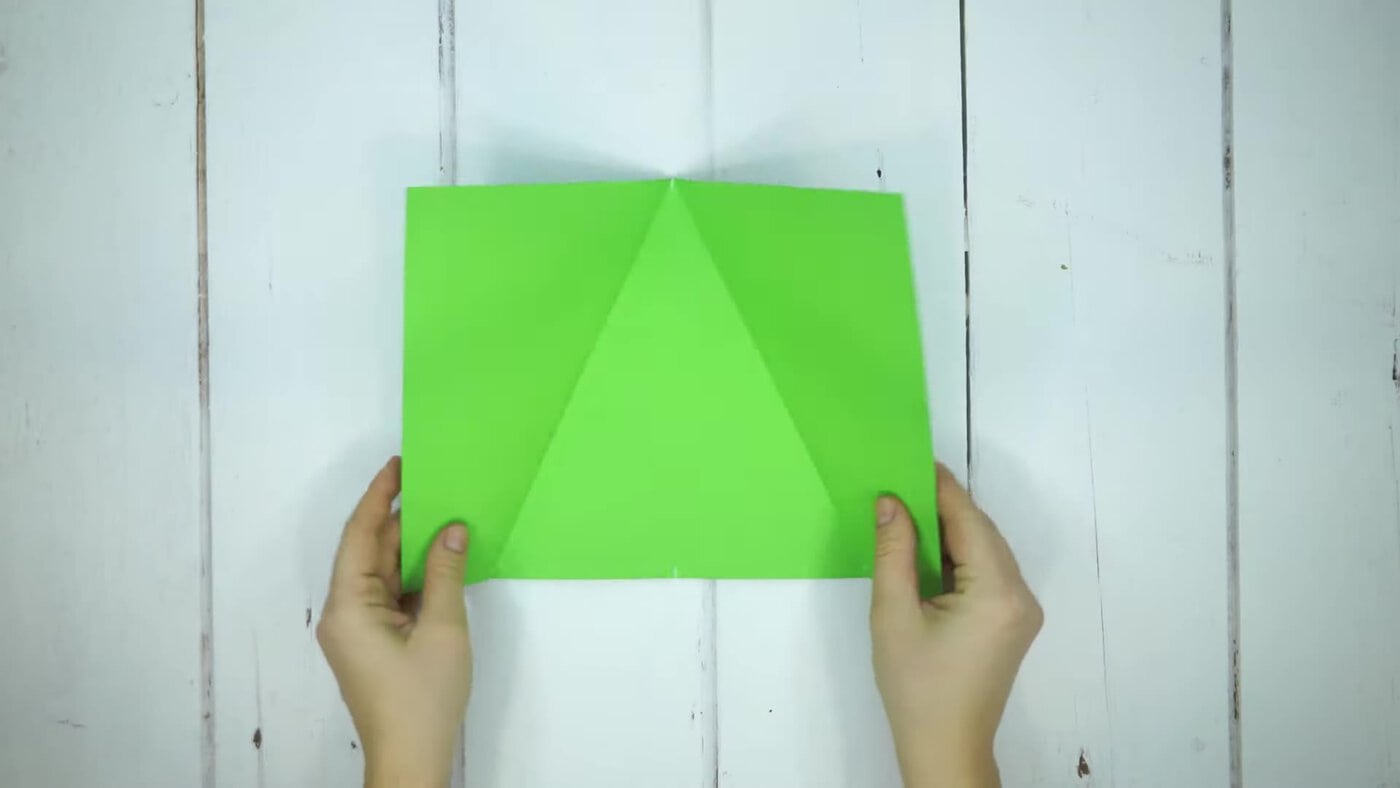
Fold the right-hand edge of the sheet in to meet the right crease, then fold that side over again along the crease. Do the same on the left. You now have a triangle with both sides folded in. Fold it in half down the middle and press it flat.
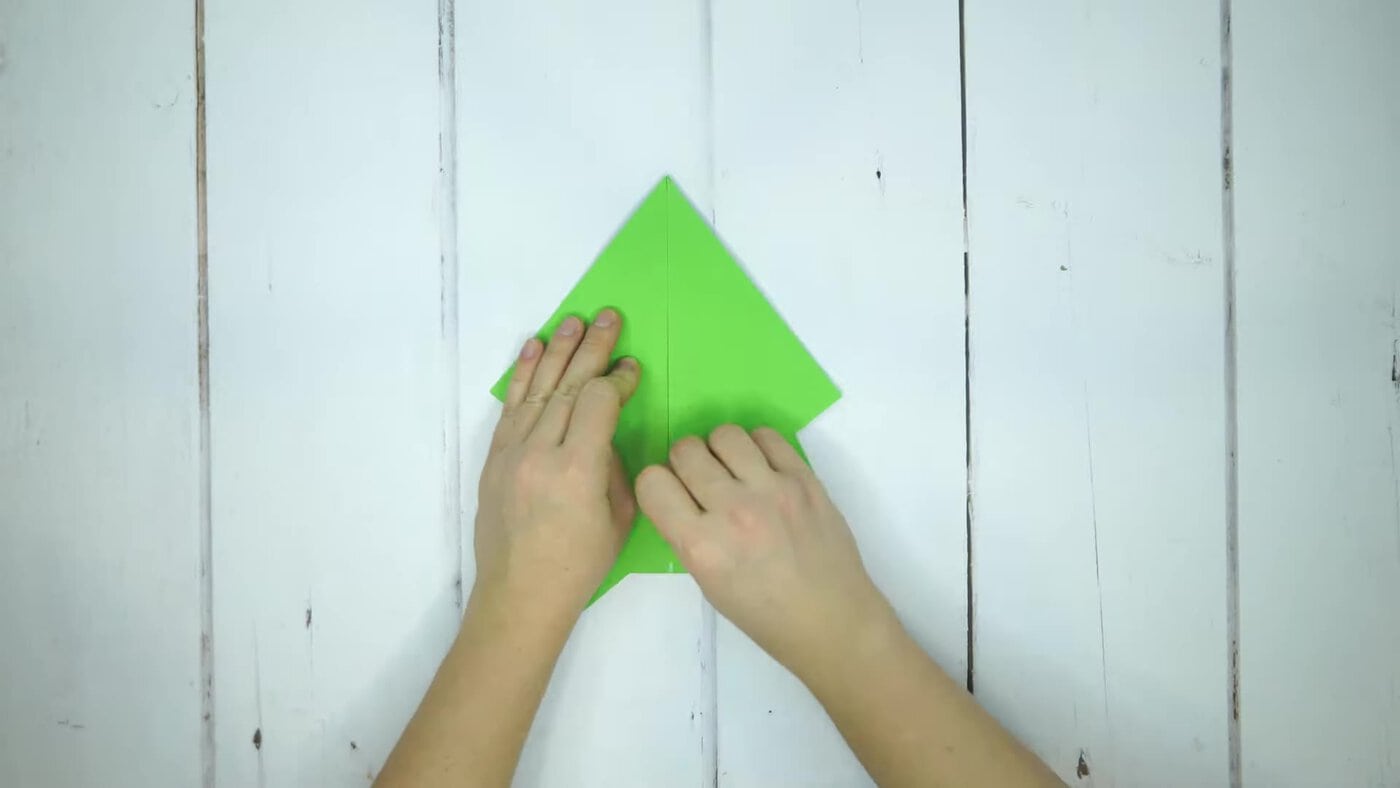
Keep it folded and cut across the bottom in a gentle curve, through all the layers. When you open it out, the bottom edge is round and the folds spread out from the top, like a fan.
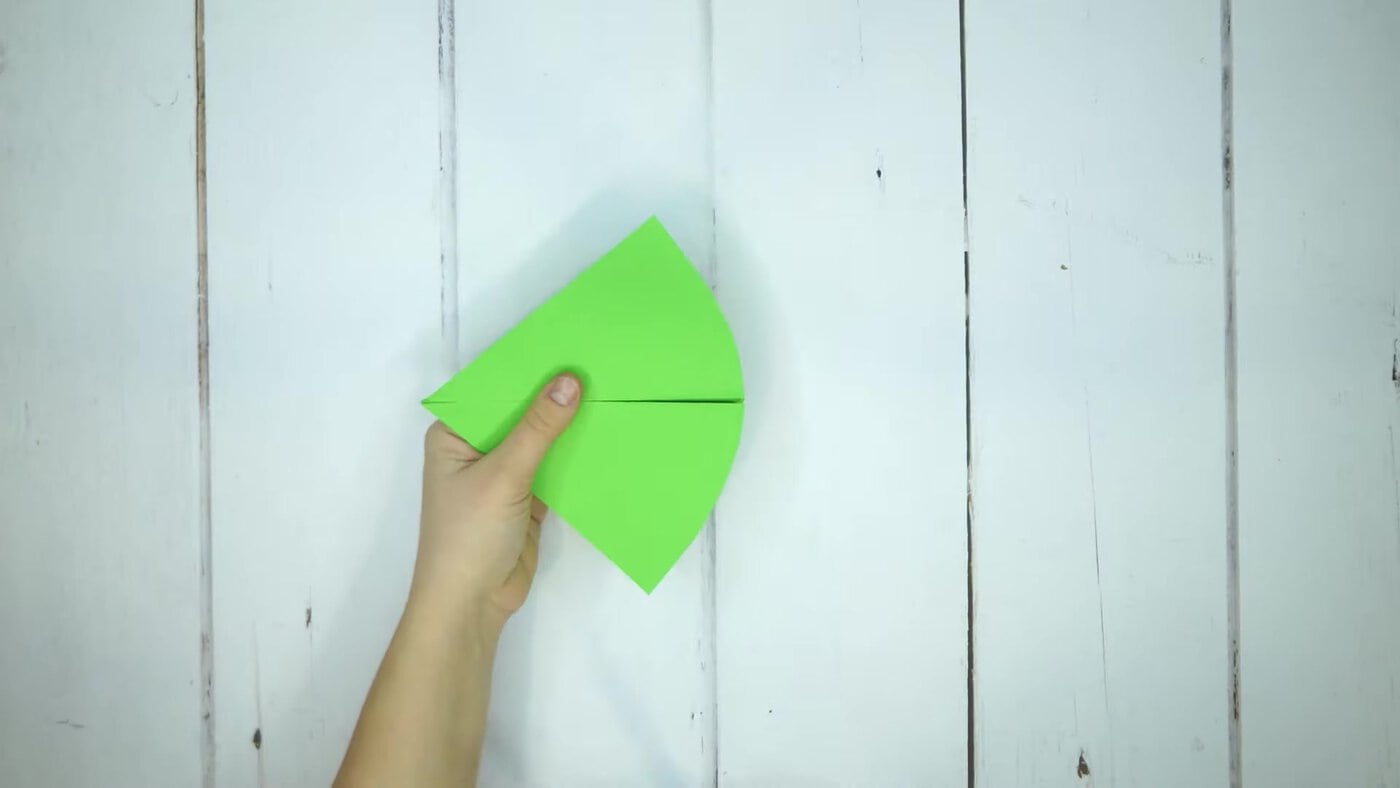
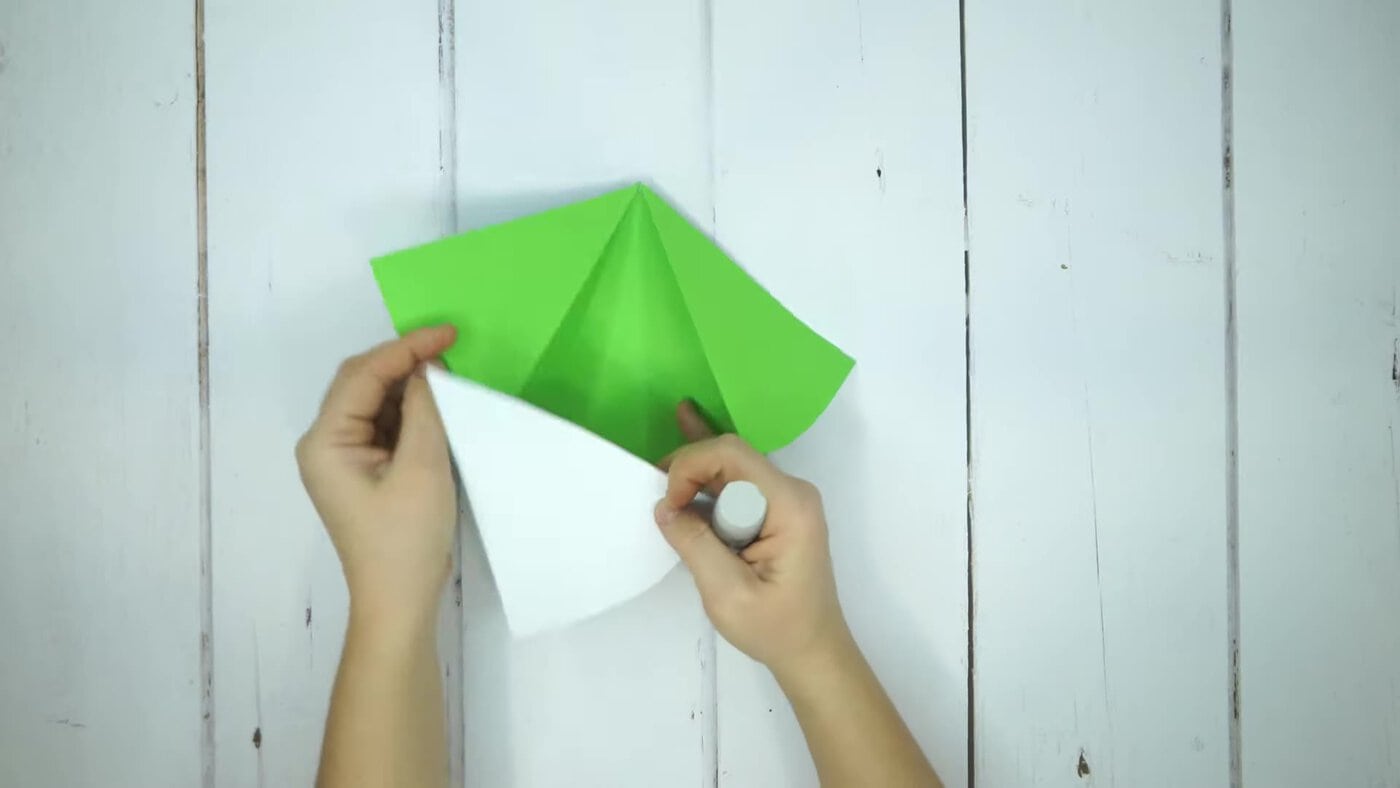
Cut a white triangle with a rounded bottom to fit the middle section of the fan. Rub glue on its edges and stick it into the middle, then press the green sides onto the glued edges. This white part is where your message goes.
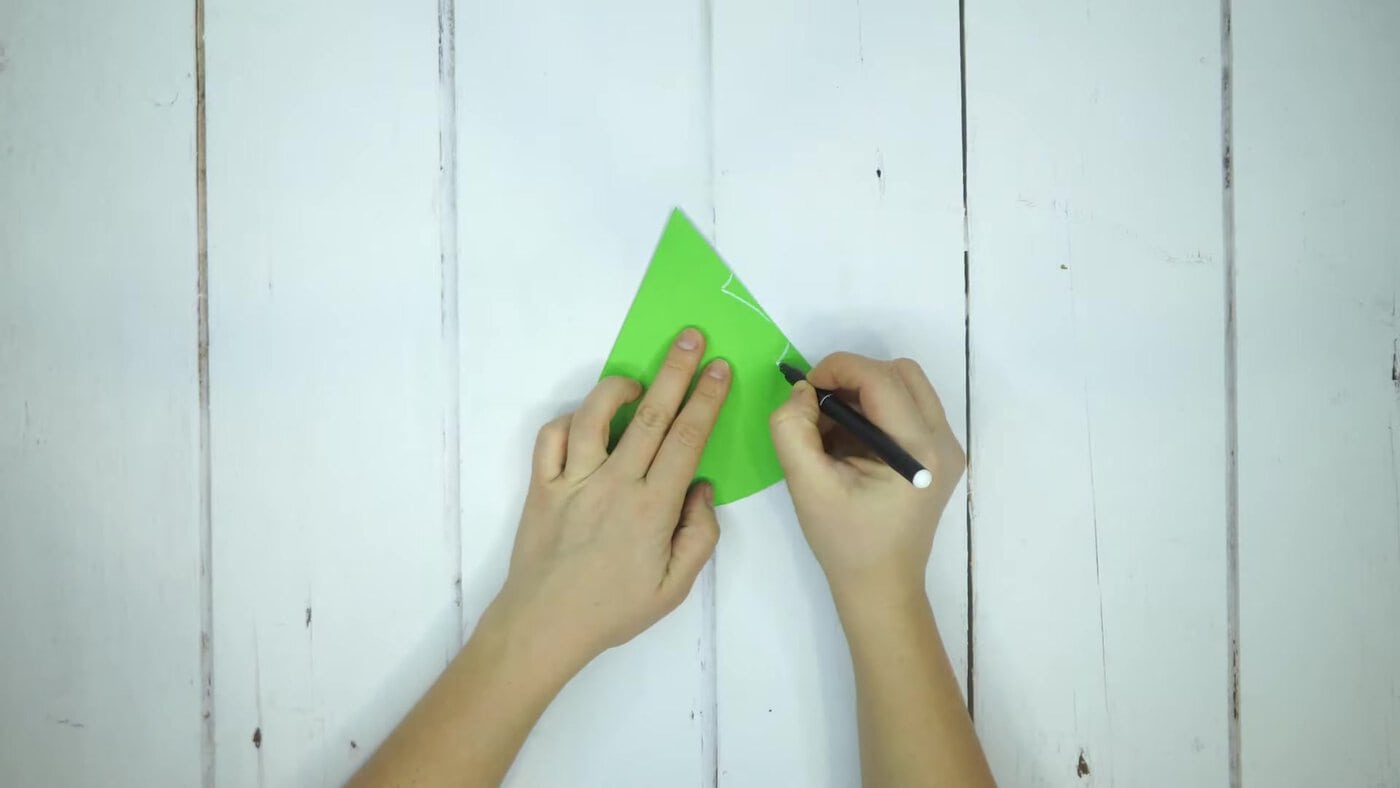
Close the card into a triangle again. With the white pen, draw a tree outline down the side with steps in it, like the branches of a Christmas tree.
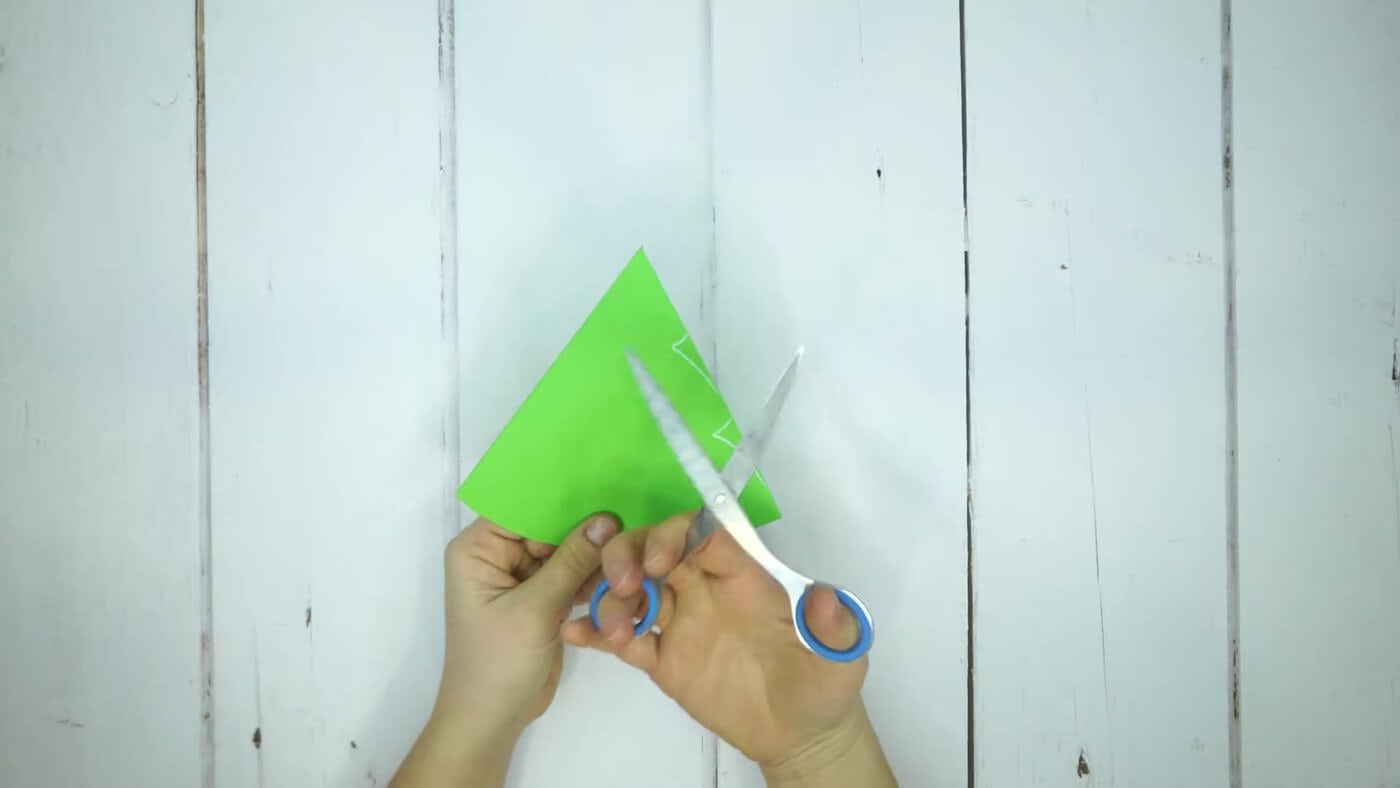
Cut along the line through all the layers. The folded paper is thick here, so an adult should do this cut or stay close. Open and close the card to check that it still folds neatly.
To make the presents, fold a small red, yellow and blue rectangle in half. Open the card, put glue on the top half of each one only, and stick them in a row along the bottom of the white triangle. The bottom halves stay loose, so they lift like little doors.
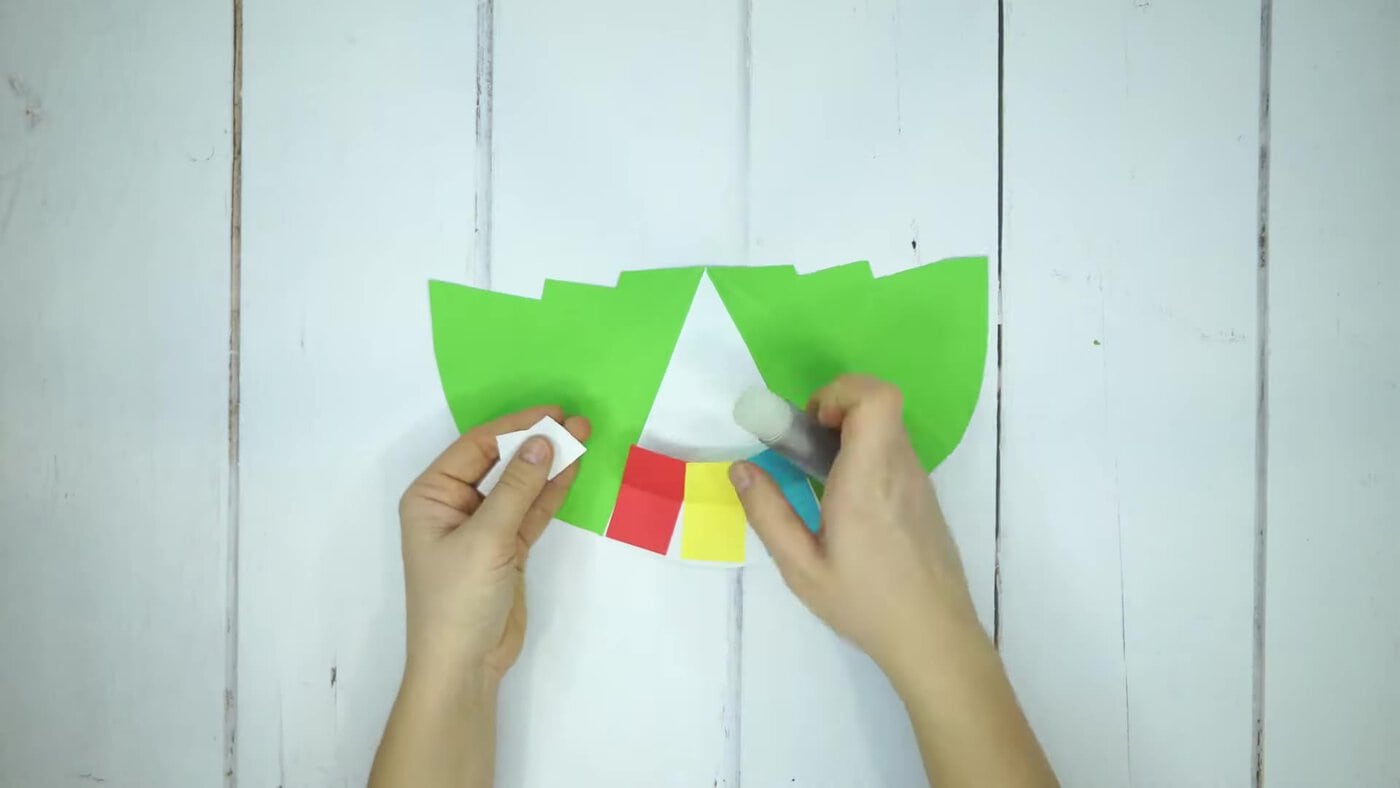
Draw ribbons and bows on the presents and write “Merry Christmas” in red above them. Lift each present and write a small tag underneath. We wrote “The gift of love” and “The gift of peace”; “joy” or “hope” works well for the third.
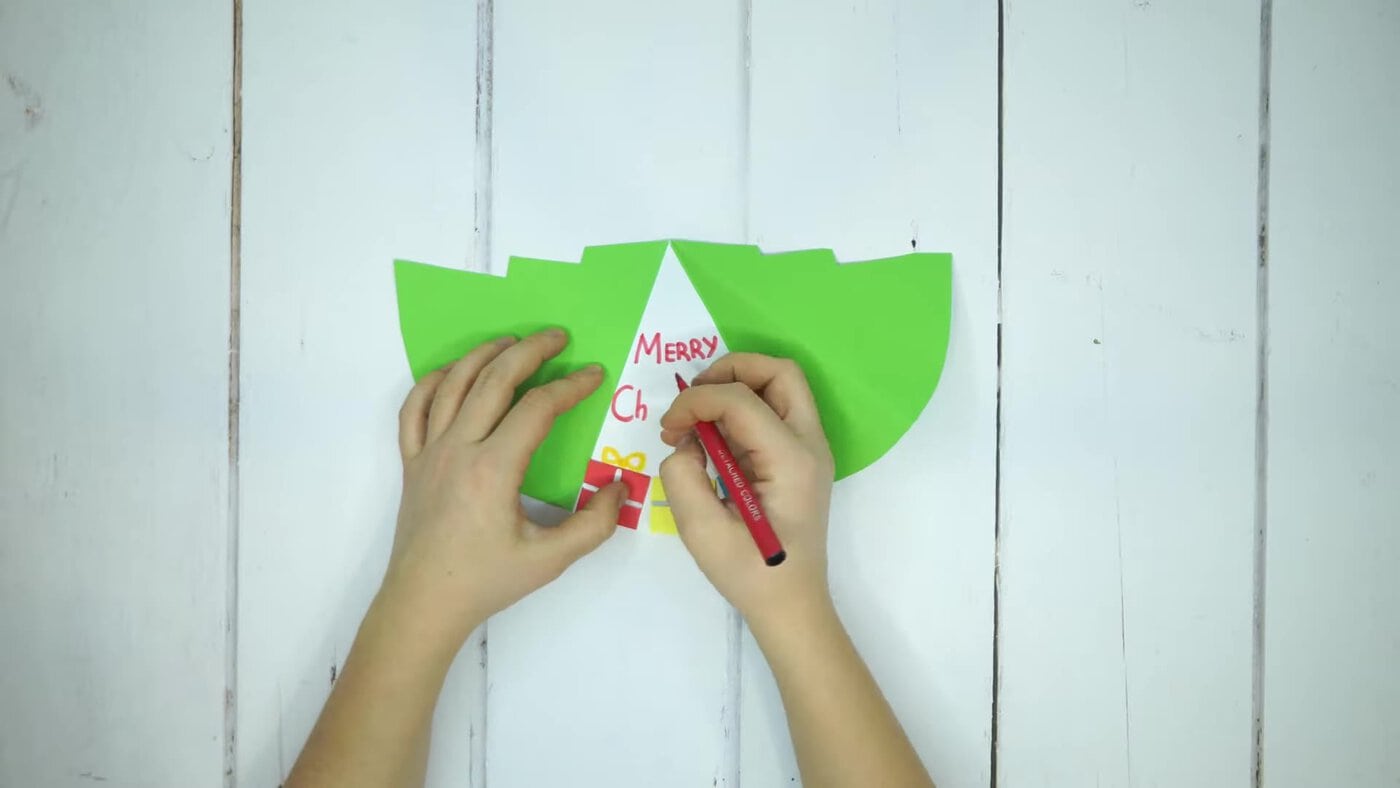
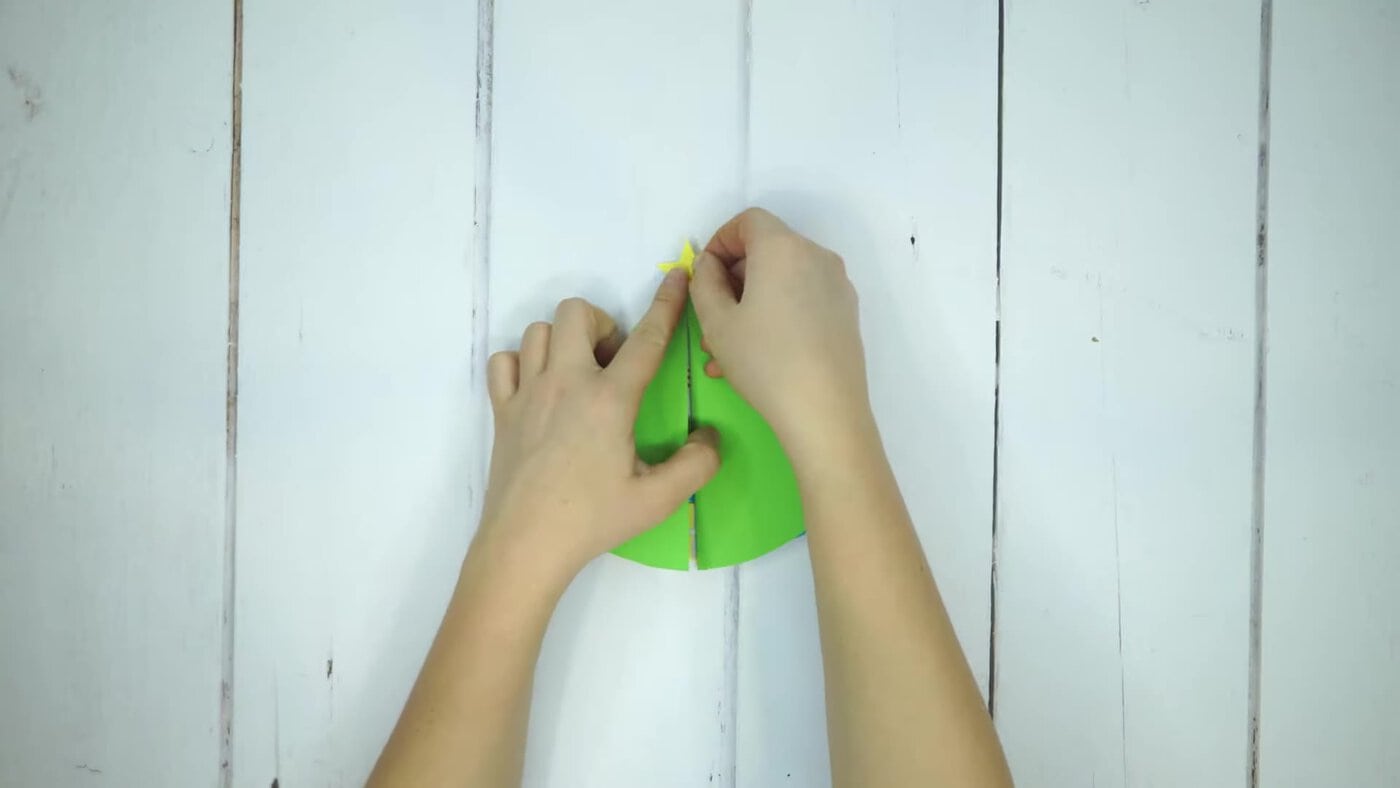
Close the card. Cut a star from the yellow paper square and glue it to the top of the tree so its top point sticks up above the card.
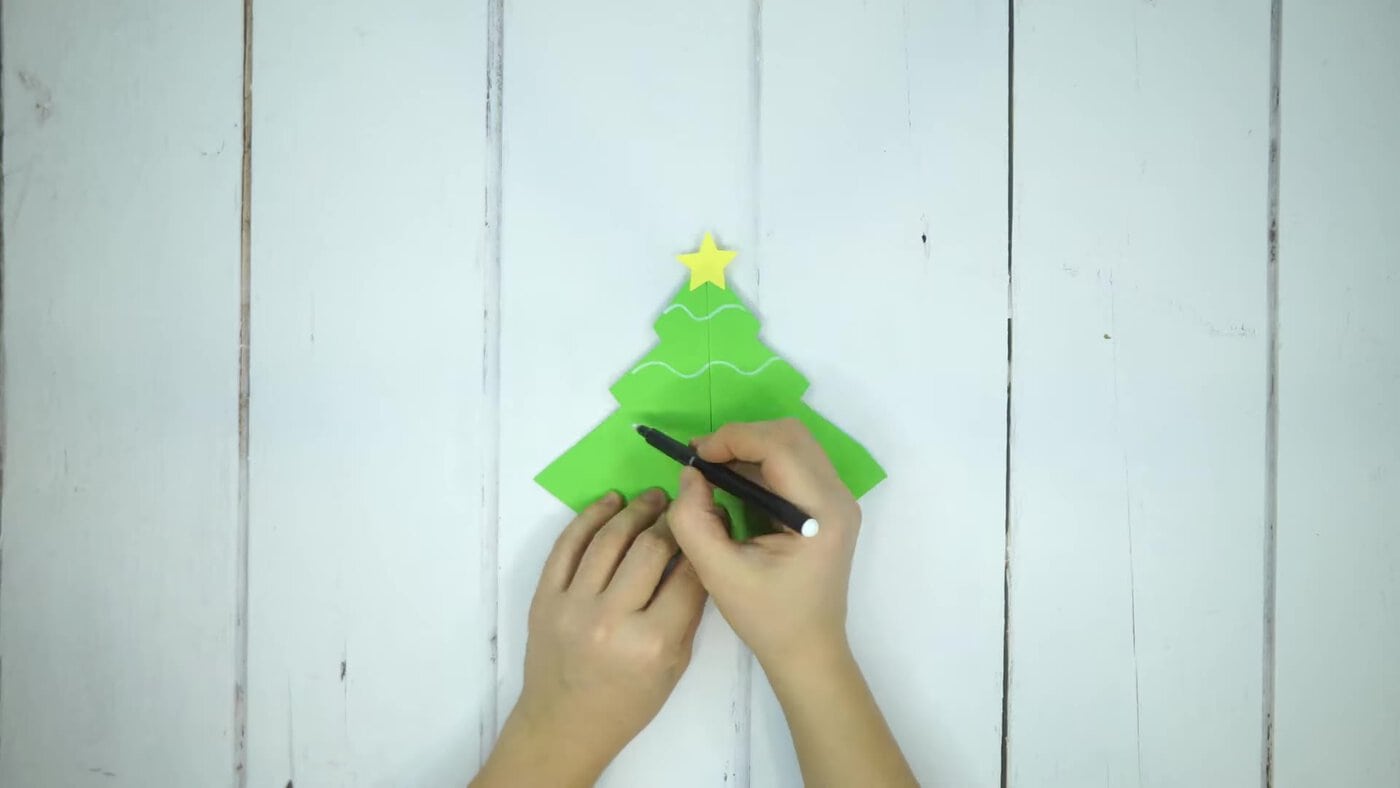
With the white pen, draw three or four wavy lines across the tree for garlands.
Dip the sponge dabber in paint and press dots all over the tree for baubles: we used red, yellow, blue and white. Let the paint dry before you open the card.
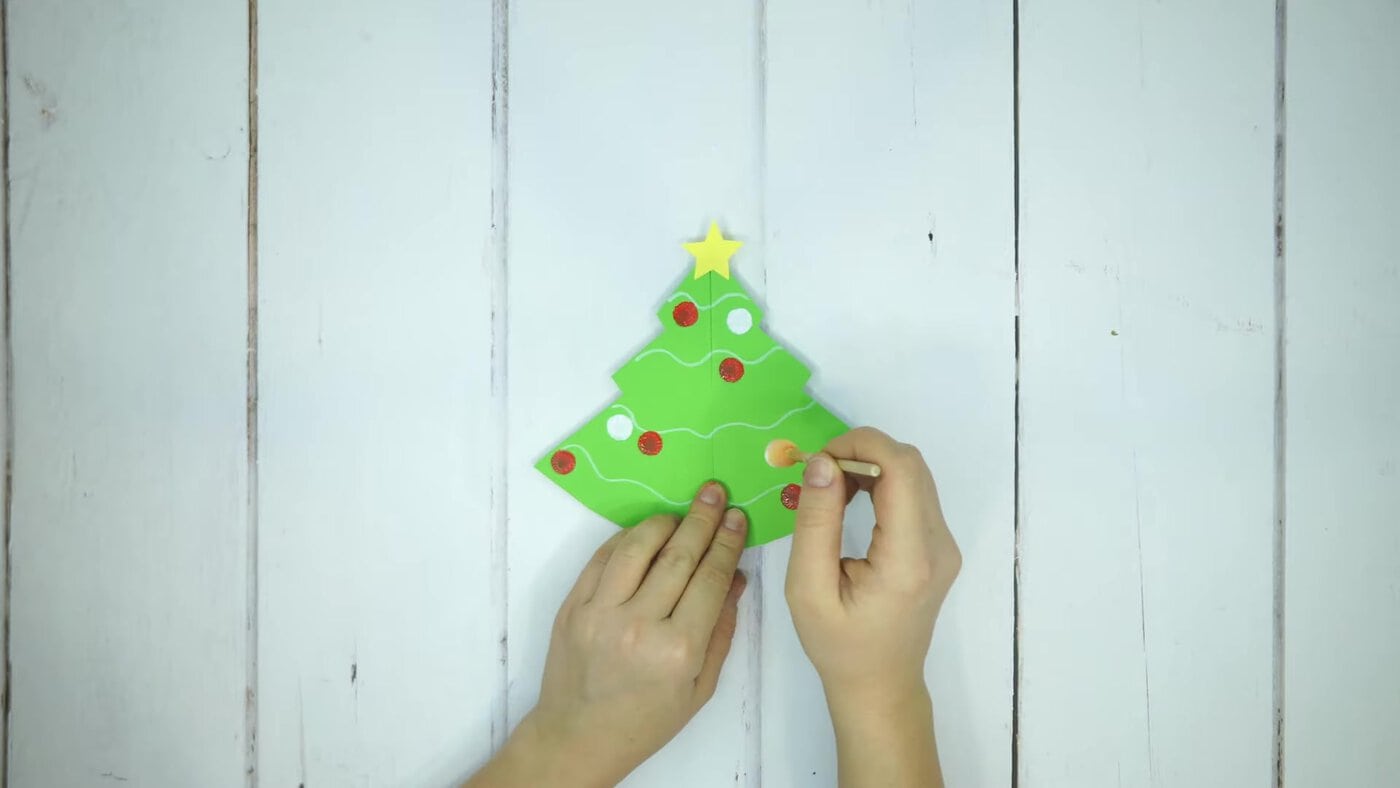
Video Tutorial for a Christmas Tree Card
Want to make more cards this year? Try our watercolour Christmas cards with a hidden candle-wax drawing, or fold a 3D paper Christmas tree that stands up on the table.
How to Make a 3D Angel Christmas Card
This angel card is a second handmade card from our channel. The angel is made from white paper folded back and forth into pleats, then pinched into fans for the wings and the skirt. It sits raised on the card, so it looks 3D, though it doesn’t pop up when you open the card.
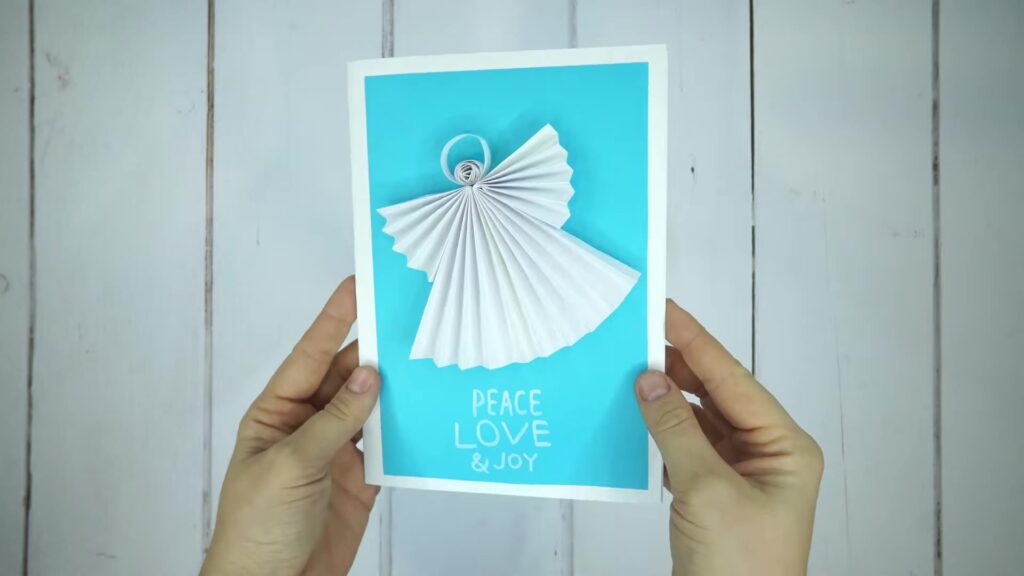
You need white paper, a sheet of blue paper slightly smaller than your card, a glue stick and a white gel pen.
- Fold a sheet of white paper in half to make the card. Glue the blue paper on the front, leaving a thin white border all round.
- Fold a strip of white paper back and forth into narrow pleats, about 1 cm wide, and press each fold flat.
- Make two small pleated fans for the wings: pinch each one together at one end and let the other end spread out. Glue the pinched ends at the top middle of the blue panel, one wing pointing each way.
- Make a bigger pleated fan for the skirt in the same way and glue it under the wings, with the pinched end at the top.
- Roll a thin white strip (about 1 cm wide) round your finger into a tight spiral for the head, and bend the other end into a ring for the halo. Glue it above the wings.
- Write “Peace, Love & Joy” at the bottom with the white pen.
Hold each fan in place for a few seconds after gluing: the pleats like to spring open until the glue grips.
Who Does Which Step?
- Ages 5–6: an adult does the measuring, folding and cutting (steps 1–8). The child glues the presents, adds the star and dabs the paint baubles. For the angel card, they can glue the fans on once an adult has pleated them.
- Ages 7–9: can fold the tree with an adult showing each step first. Cutting the tree outline through all the layers is hard work for small hands, so an adult may need to help.
- Ages 10 and up: can make the whole card and try their own designs.
Tips for Success
| Problem | Why it happens | Fix |
|---|---|---|
| The card won’t close neatly | The folds don’t all meet at the top middle | Line the ruler up exactly on the top middle mark for both folds and crease firmly |
| The presents won’t lift | Glue went all over the back | Glue only the top half of each folded piece |
| The paint dots run or the paper wrinkles | Too much water on the sponge | Dab the sponge on scrap paper first, and let the dots dry before you open the card |
| Scissors won’t cut through | Too many layers or thick card | Use thinner paper, and cut a little at a time |
| The angel’s fans spring open | The pleats aren’t pressed flat | Press every fold hard, pinch the end, and hold it in place after gluing |
What to Write Inside
The best message is a short, warm one: “Merry Christmas” plus a few words from you, and the child’s own name. The white triangle has room for a short message under “Merry Christmas”, and the back of the card is free for a longer one. The gift tags are the fun part: “the gift of love”, “the gift of peace”, “the gift of joy”, “the gift of a hug” or “the gift of a day out”. For a card from a toddler, a parent can write the message and the child can add the paint dots and their name, or a scribble that counts as a signature.
Frequently Asked Questions
Is this a pop-up Christmas tree card?
Not quite. A pop-up card has a shape cut into the fold that jumps up when you open it. This card opens out sideways like two doors, and the folded sides make the tree look 3D. It’s easier for children to make than a true pop-up card.
Do I need a template?
No. The folds are measured with a ruler, and you draw the tree outline by hand on the folded card, so both sides come out the same when you cut.
Can a whole class make these?
Yes. There’s no glitter and no hot glue, just paper, a glue stick, markers and one paint set to share. Pre-folding the green fans (steps 1–5) before the lesson saves the most time.