


-
 3-4 , 5-8 , 9-10
-
 5 to 20 min
-
 Easy
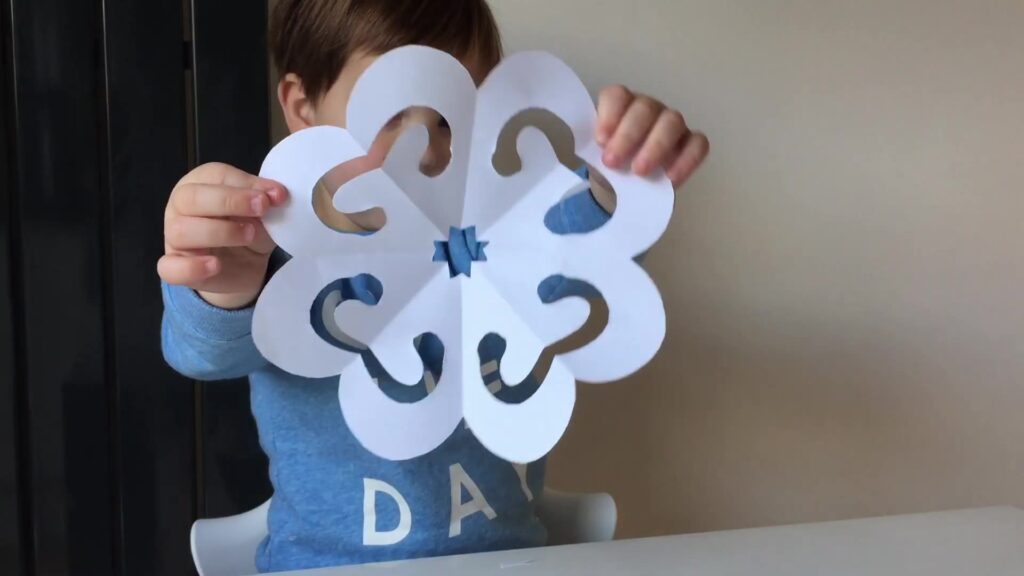
Here’s how to make paper snowflakes from one sheet of printer paper, a pair of scissors and three folds. In our video, Alex folds the paper, snips shapes into the folded edges and opens up a new snowflake each time, no two quite the same. Every snip cuts through eight layers at once, so one cut becomes a whole pattern. Hang them in the window or string them into a garland for Christmas. Want one that looks like real snow? The six-point fold is further down.
List of Materials
Thin paper is what makes this work. After three folds you are cutting through eight layers, and card or construction paper is too stiff for small scissors. Ordinary printer paper is just right. For younger children, coffee filters are easier to cut: they are already round, so skip steps 1–2 and fold them in half three times. Baking paper also works but slips, so hold it firmly. You don’t need square paper: step 1 turns any rectangle into a square.
Step by Step Instructions
Fold one top corner down so the short top edge lies along the long side edge, making a triangle. Line the edges up before you press the crease flat.
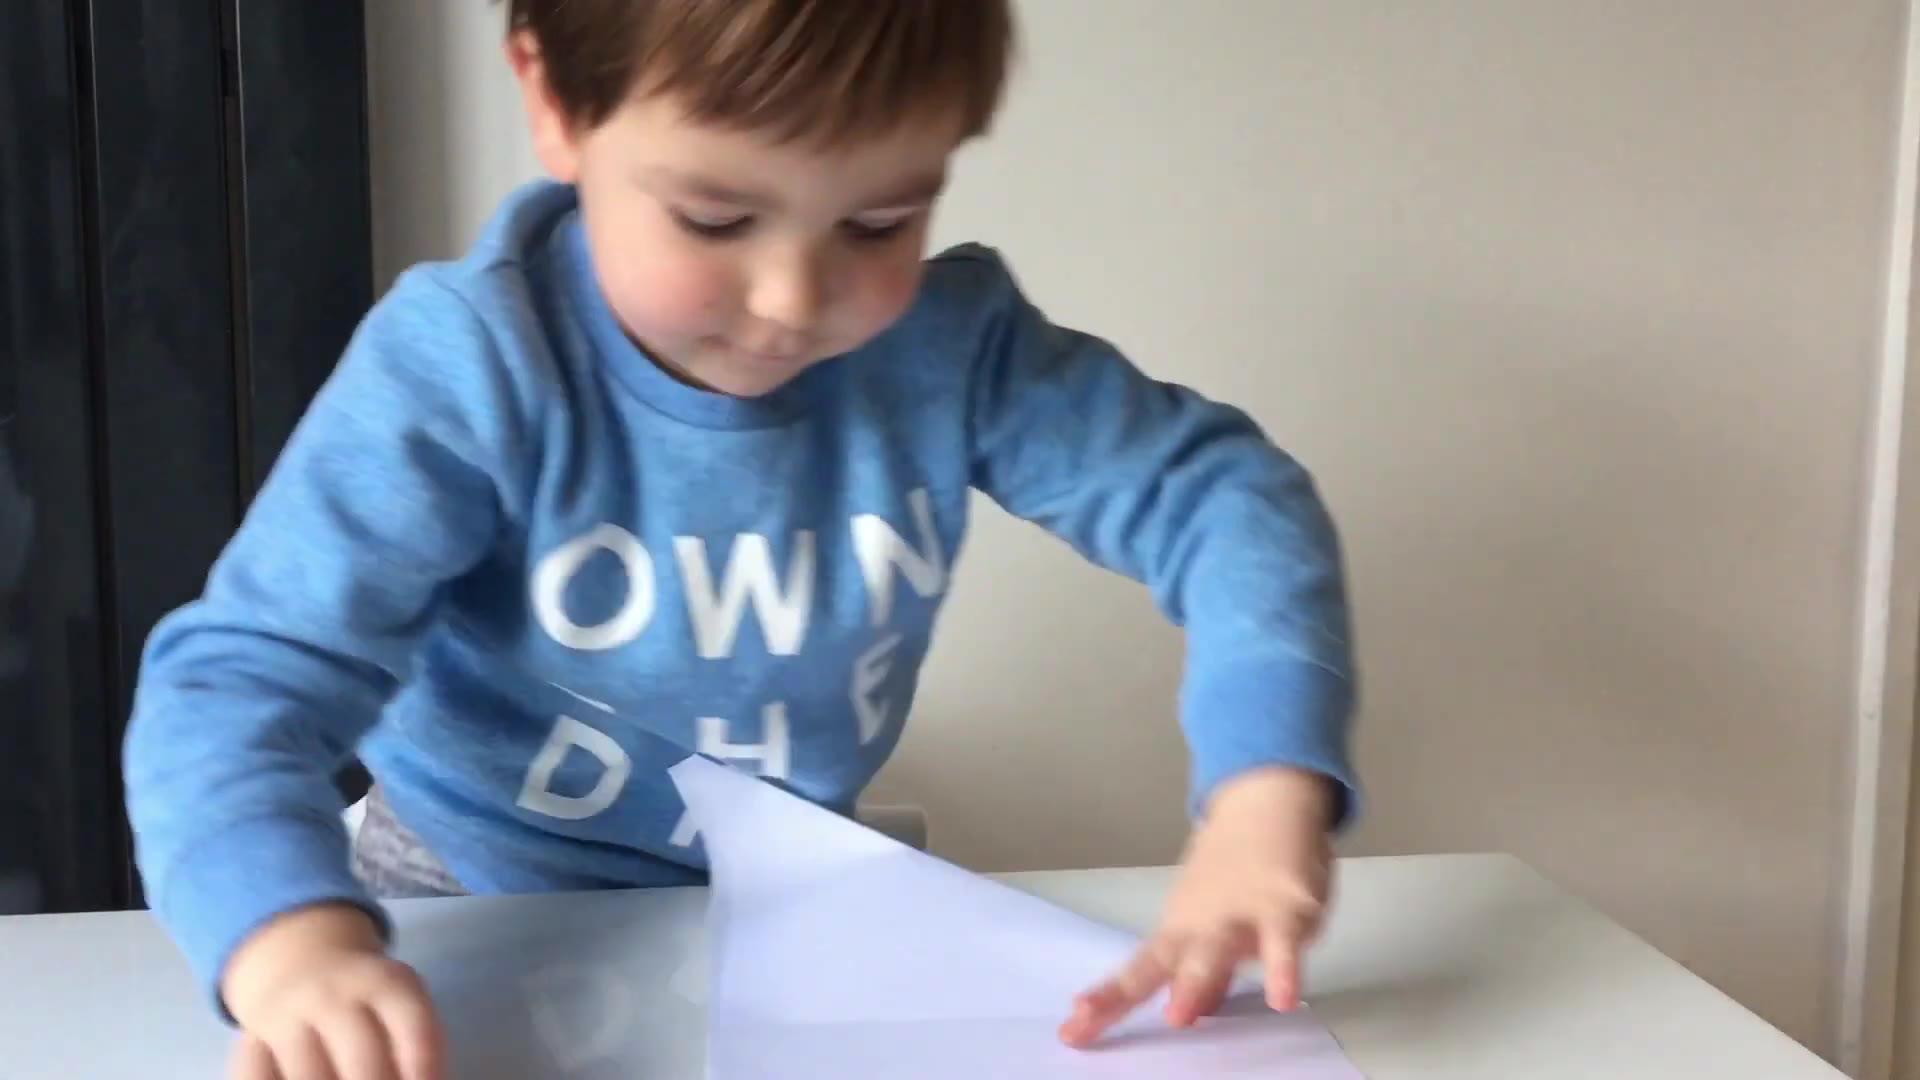
Cut off the leftover strip along the edge of the triangle. What’s left is a square folded into a triangle (keep the strip for a mini snowflake).
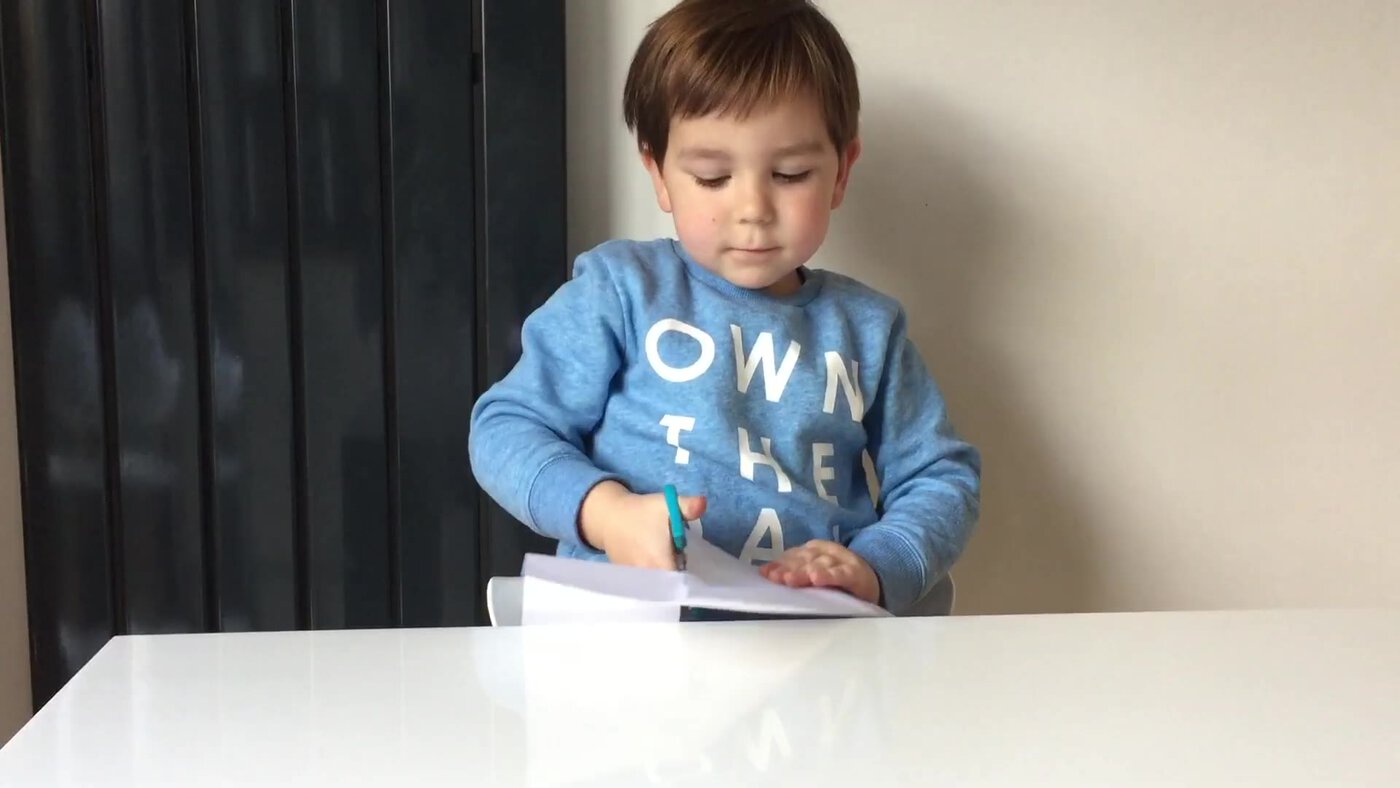
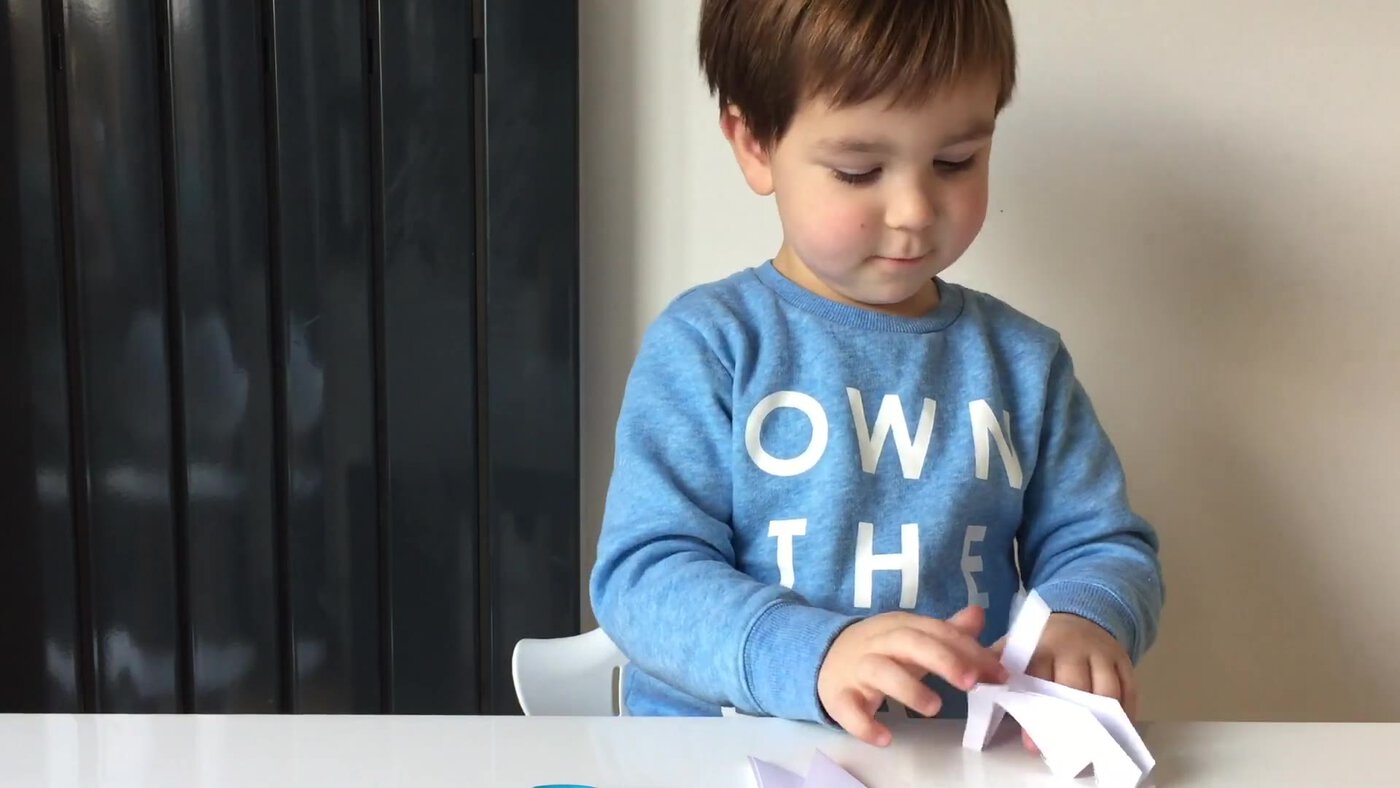
Fold the triangle in half, matching its two pointed ends, and press the crease flat. Then fold it in half once more to make a narrow wedge, eight layers thick. The pointed end of the wedge is the centre of your snowflake. With 3–4 year olds, an adult does the folding and the child snips; if cutting is too hard, skip this last fold so there are only four layers.
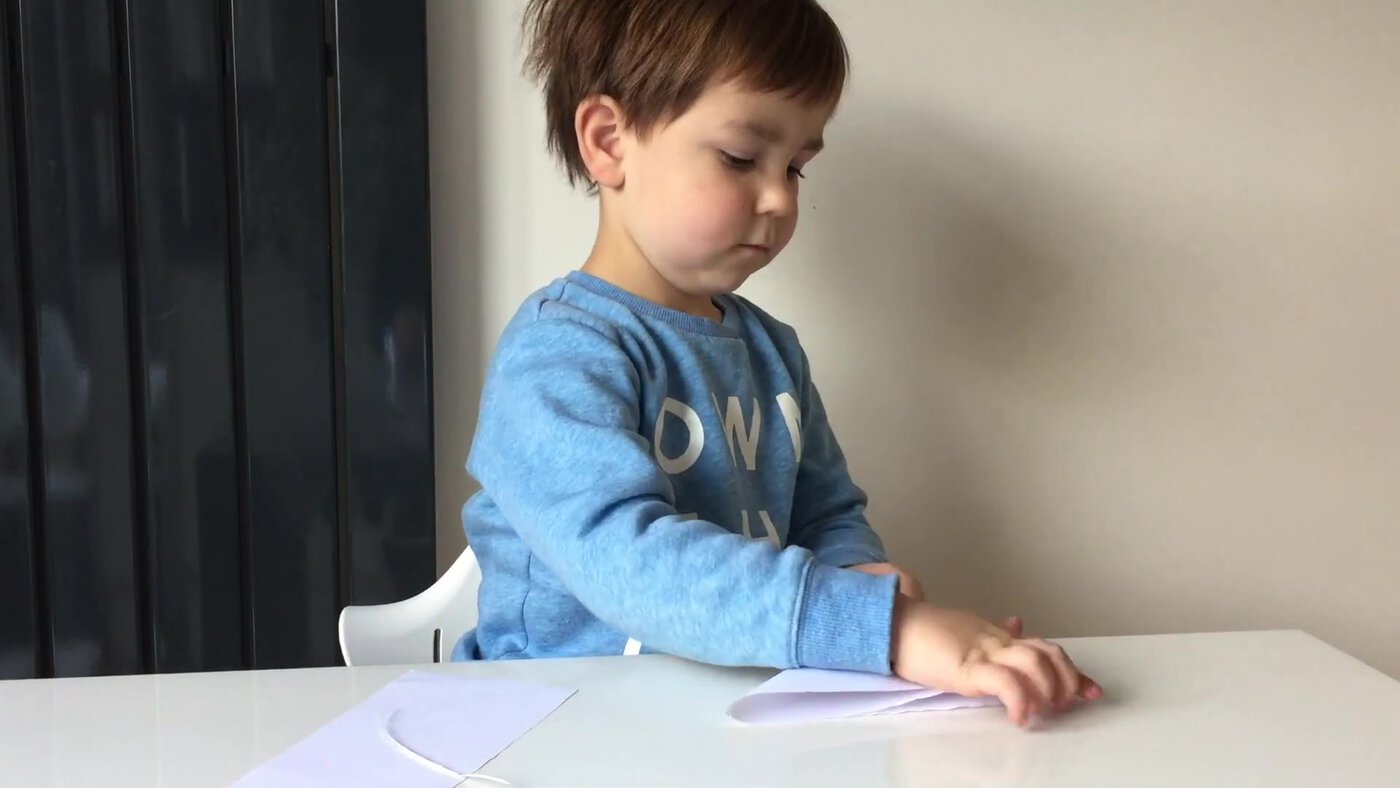
Cut small shapes into the sides and the top of the wedge: triangles, half-circles, notches and slits. Leave part of every folded edge uncut so the snowflake holds together.
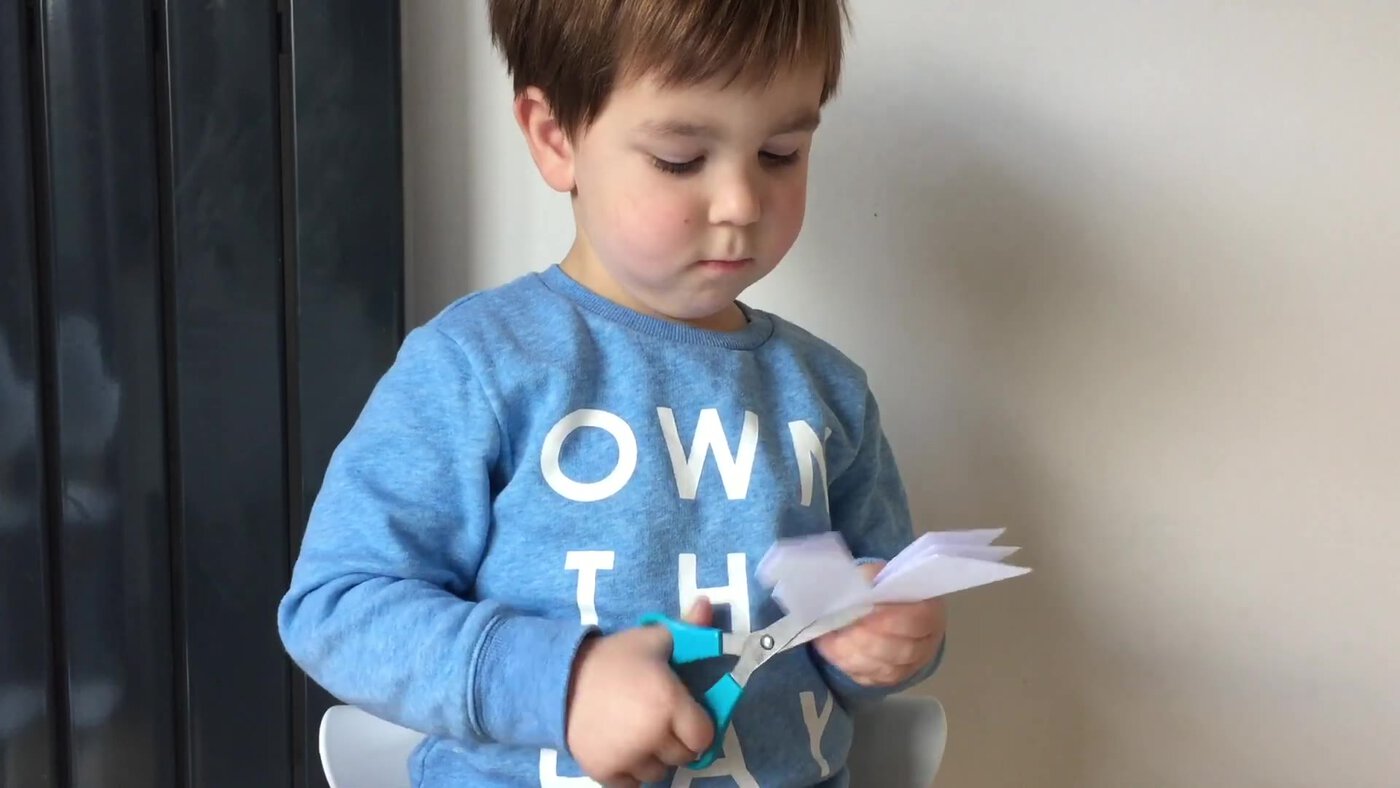
Unfold the paper slowly, one layer at a time, so the thin parts don’t tear.
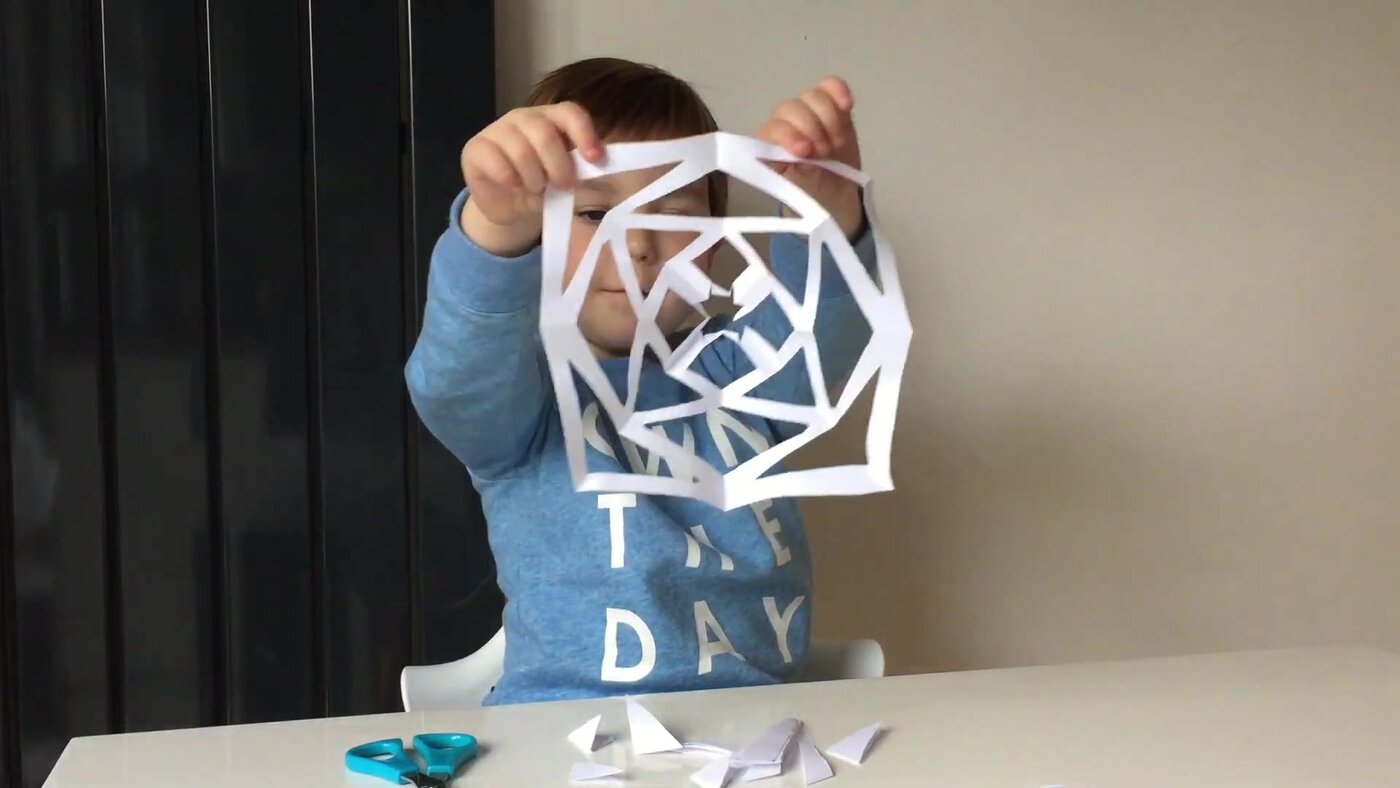
Hold your snowflake up to the light. Shapes cut into the open top edge appear eight times; shapes cut into a folded edge open out into bigger shapes joined to their mirror image.
Video Tutorial for Easy Paper Snowflakes
Looking for more quiet, cut-and-make afternoons? Try our colour changing chameleon craft or the tracing shadows activity.
How Do You Make a 6-Pointed Paper Snowflake?
Real snow crystals that grow arms have six, never eight, so this fold makes a snowflake that looks like the real thing. It is fiddlier, so it suits children from about 7 with a little help.
- Start with a square folded into a triangle (steps 1–2 above).
- Fold the triangle in half and open it again, just to mark the middle of the long edge. That point is the centre of your snowflake.
- With the centre point at the bottom, fold the right side over so it covers one third of the triangle.
- Fold the left side over on top of it. Wiggle the paper until the outer edges line up with the folds, and only then press the creases flat.
- Fold the cone in half once more, then trim the uneven top straight across (for a round snowflake) or at a slant (for pointy arms).
- Your cone is now 12 layers thick, so make small, firm cuts (or use thinner paper). Cut and unfold as before. You’ll get six arms.
For a more realistic flake, cut away most of the paper between the arms and snip small V-shaped notches along each arm for side branches.
Why Did My Snowflake Fall Apart?
| Problem | Likely cause | Fix |
|---|---|---|
| It fell apart when opened | Two cuts met, or one cut ran right along a fold | Leave at least a third of every folded edge uncut, and keep cuts from meeting |
| The middle fell out | Too much cut off the pointed end | Snip only the very tip, or don’t cut the point at all |
| Too hard to cut | Paper too thick or too many layers | Use printer paper or coffee filters, or fold one time less |
| The arms are lopsided | The layers slipped while cutting | Crease each fold firmly and hold the wedge tight near where you cut |
| The six-point thirds won’t line up | The paper was creased too early | Fold loosely, line up the edges, then crease |
| It won’t lie flat | Fold lines | Press it under heavy books overnight |
Paper Snowflake Patterns and Variations to Try
- Draw it first. Older children can pencil a pattern onto the top layer of the folded wedge and cut along the lines. Shade the parts to cut away so nobody snips through a whole fold by mistake.
- Big, bold cuts. The last snowflake in our video uses a few large cuts instead of many small ones: quicker for little hands, and it shows up well on a window.
- Mini snowflakes. Use the strip you cut off in step 2: fold a small square from it and make a tiny matching snowflake.
- Snowstorm window. Make snowflakes from different sized squares and stick them to a window at different heights.
- Garland. Tape a row of snowflakes along a length of ribbon or thread.
The Science Explained
Folding the paper makes copies. Fold a sheet in half and cut, and the scissors go through two layers, so you get two matching shapes. Fold again and there are four layers. Fold a third time and there are eight. One snip, eight shapes!
Each fold line works like a mirror. When you open the paper, the shape on one side of a fold is flipped on the other side, just like your reflection. That’s why the pattern looks so neat and balanced. Mathematicians call this symmetry.
Real snowflakes are made of ice, and when water freezes it lines up in a six-sided pattern, a bit like the cells in a honeycomb. As a tiny piece of ice floats down through a cold cloud, it grows from its six corners, so it ends up with six arms. Our snowflakes repeat their pattern eight times because three folds make eight layers; the six-point fold above divides the paper into six parts instead.

Frequently Asked Questions
Can you make a paper snowflake without scissors?
Yes. Fold thin paper twice (four layers), then tear small bites out of the folded edges with your fingers. The edges come out fuzzy, but the pattern still repeats when you open it, and younger children love it.
How do you make a snowflake out of 6 pieces of paper?
That’s the 3D paper snowflake, a different craft. Each of six squares is folded into a triangle and cut with parallel slits, then the strips are curled and taped into a spiral, and the six pieces are stapled together at the centre. It suits children from about 8, with an adult on the stapler.
Is it true no two snowflakes are alike?
For big, branched snowflakes it is almost certainly true, but nobody can prove it. Each crystal takes its own path through the cloud, so tiny differences pile up. Very small, simple crystals can look the same.
How do you stick paper snowflakes to a window?
Use a small piece of double-sided tape or a dab of glue stick on the centre, which washes off the glass with warm soapy water. To hang them, tape a length of thread to the back of each snowflake.