

-
 5-8 , 9-10 , 12+
-
 5 to 20 min
-
 Normal
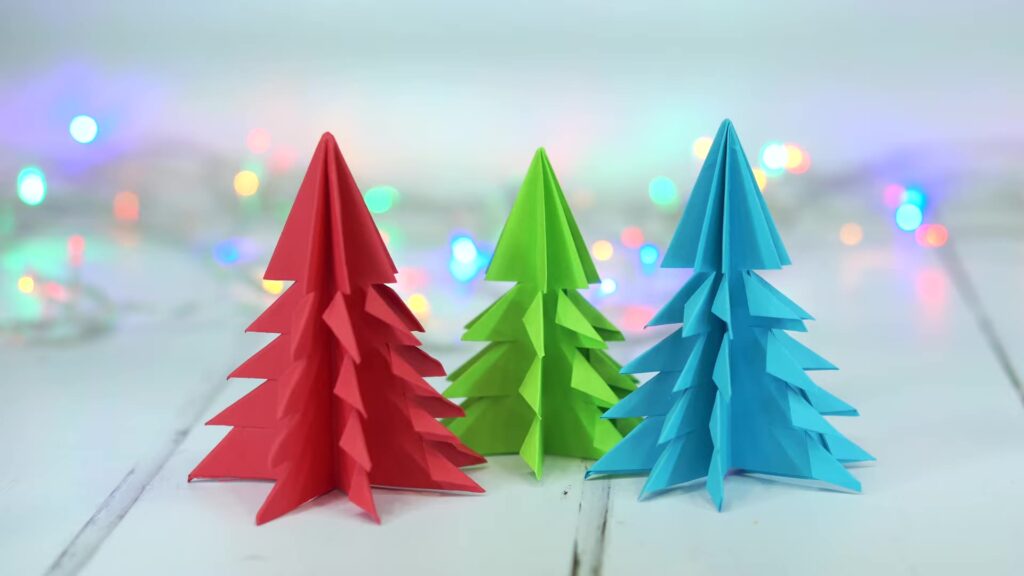
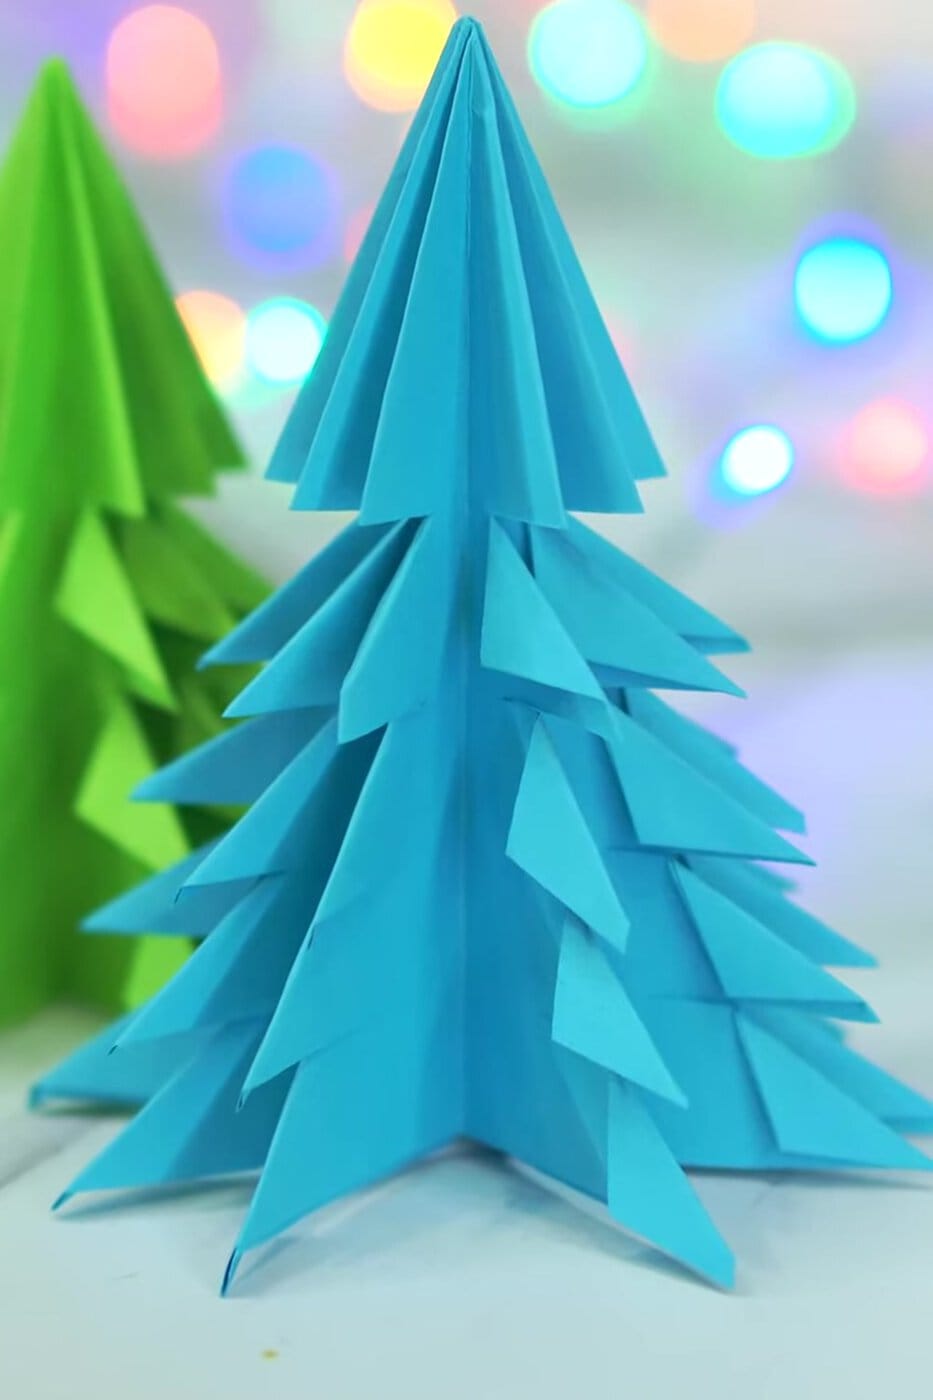
This paper Christmas tree is folded from one square of coloured paper. A few folds, some snips with scissors, and when you open the layers out it stands up on its own, with rows of little branches all the way round. There is no glue, tape or template, which makes it one of the easier 3D paper trees. It makes a lovely table decoration, and three in different colours make a small forest. Children from about five can help.
List of Materials
Thin paper works best: origami paper or ordinary printer paper, because the tree is folded into many layers and you cut through all of them at once. Thick card makes a stack that is too stiff to fold neatly and hard to cut through.
If you only have A4, fold one corner down to the opposite long edge and cut off the leftover strip to get a square. The finished tree is about half as tall as the side of the square, so a 15 cm square gives a tree of about 7.5 cm, and a 20 cm square one of about 10 cm.
Step by Step Instructions
Fold the square in half corner to corner to make a triangle, crease it, and unfold. Do the same with the other two corners, so you have an X of creases.
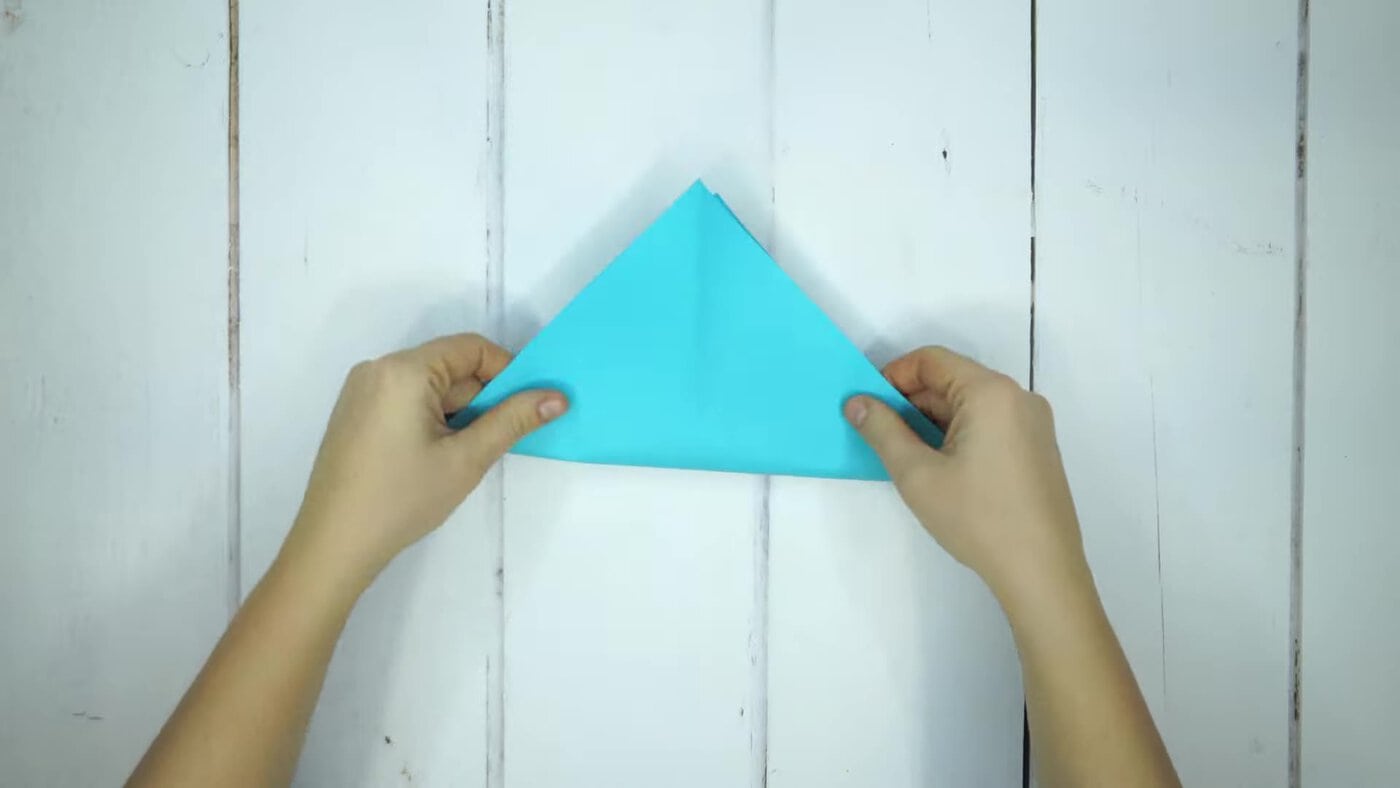
Turn the paper over. Fold it in half edge to edge to make a rectangle, crease and unfold, then do the same the other way. Now there is a + of creases on top of the X.
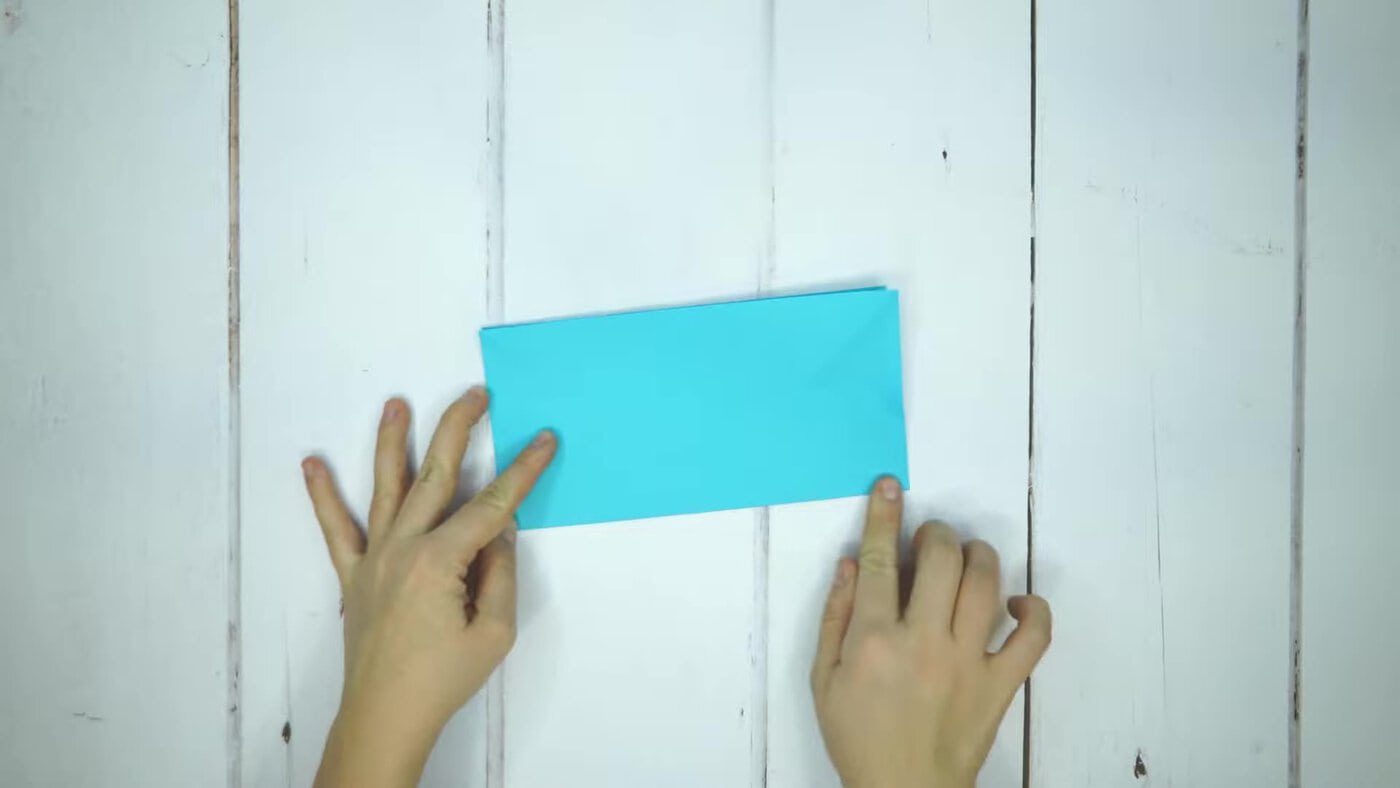
Turn the paper back over. Hold two opposite sides and push them in towards the middle, so the paper collapses along the creases into a small square, four layers thick, with all four corners meeting at the bottom (the open end). This is called a square base.

With the closed point at the top and the open end down, fold the two sloping edges of the top layer in to meet the centre crease, so the shape gets narrow at the top, like a kite. Press the folds flat.
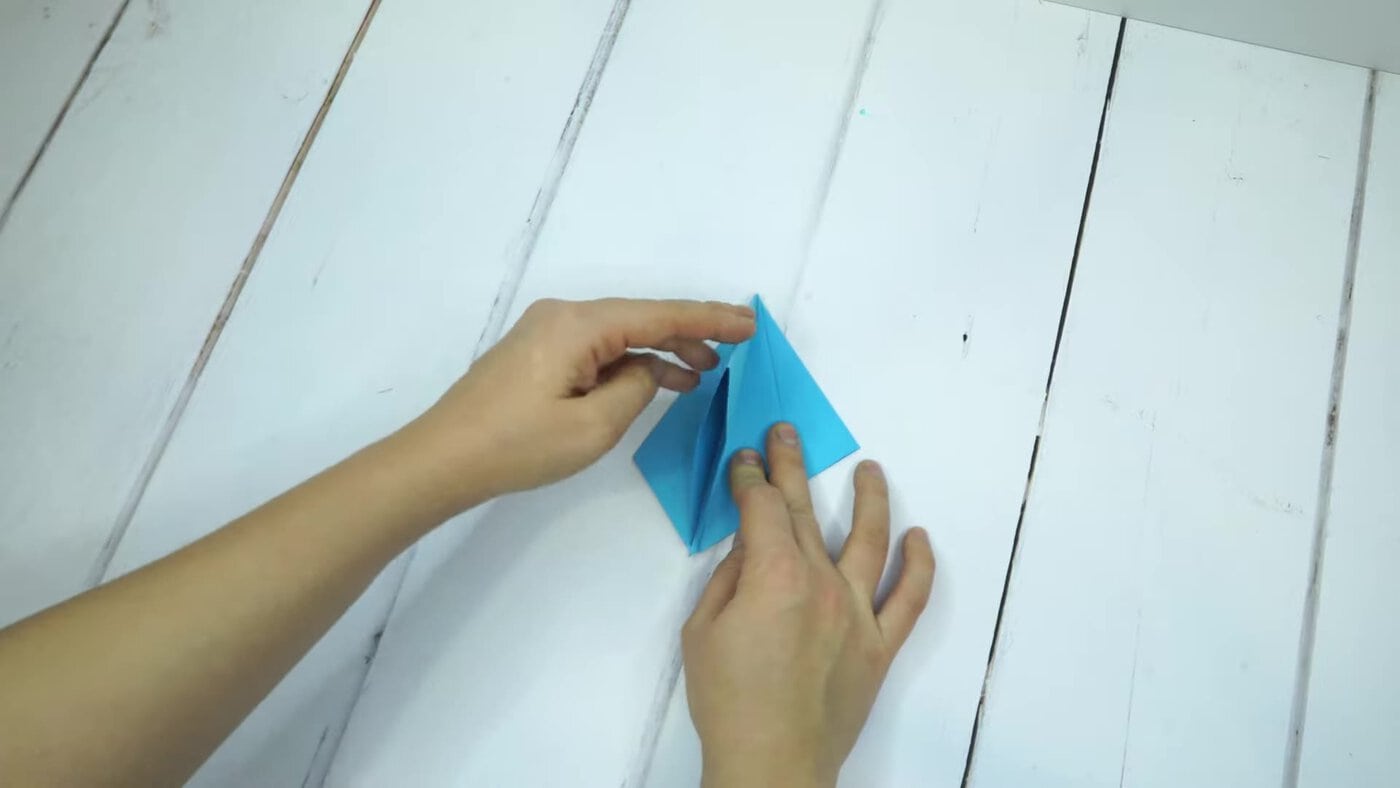
Cut straight across the shape where the folded flaps end, through all the layers, and throw away the bottom part. What’s left is the tree’s triangle, and its straight bottom edge is what lets the tree stand level.
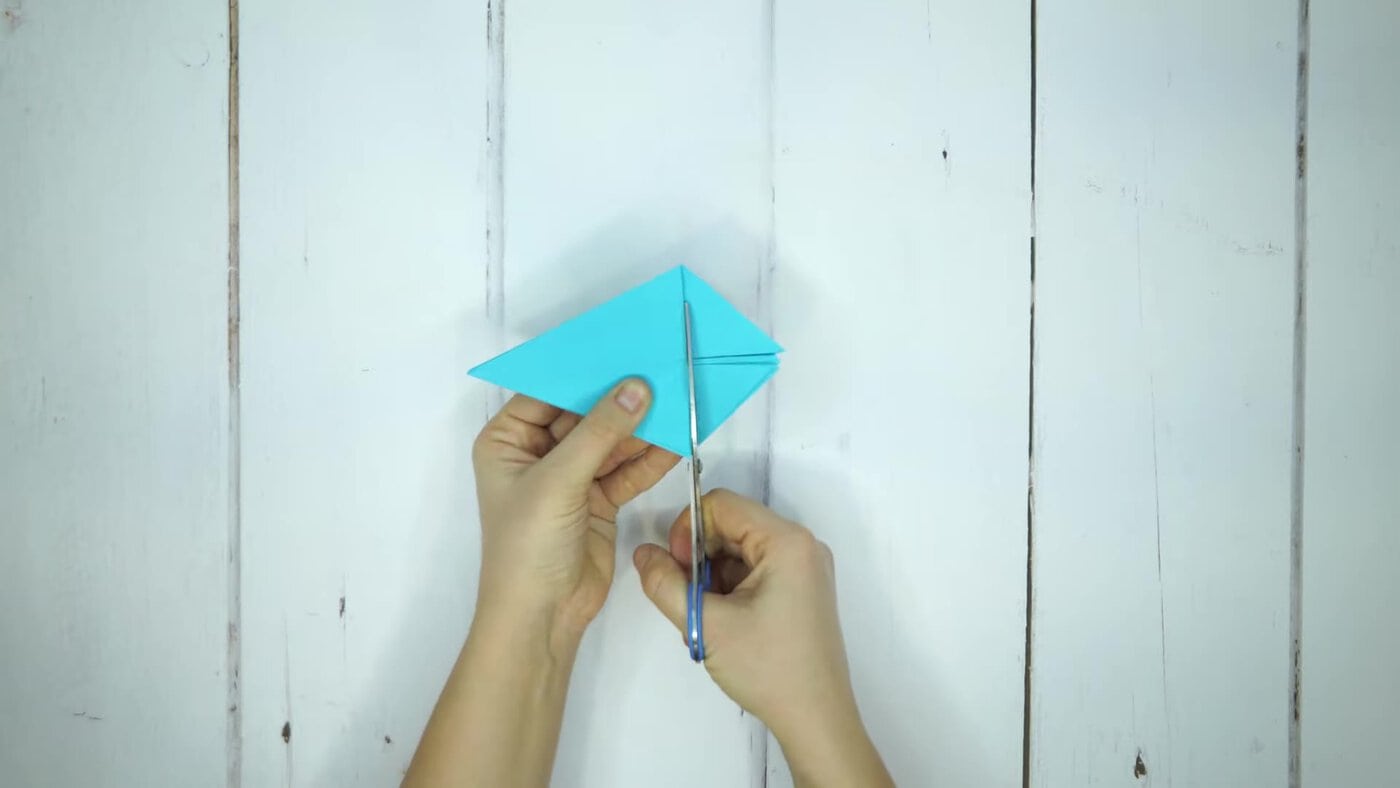
Turn the folded flaps over like the page of a book, and fold the edges of the next layer to the centre in the same way. Keep going until every layer has been folded, on both sides. You now have a long, thin triangle.

Hold the triangle with the point at the top. Cut 4 or 5 evenly spaced slits in from each side towards the centre, through all the layers, straight across (parallel to the bottom edge), from near the bottom to near the top. Cut each slit only about a third of the way across from its side, so the middle third stays uncut, or the tree will fall apart. Cutting through the thick stack takes force, so an adult should do this or stay close, with child-safe scissors for younger children.
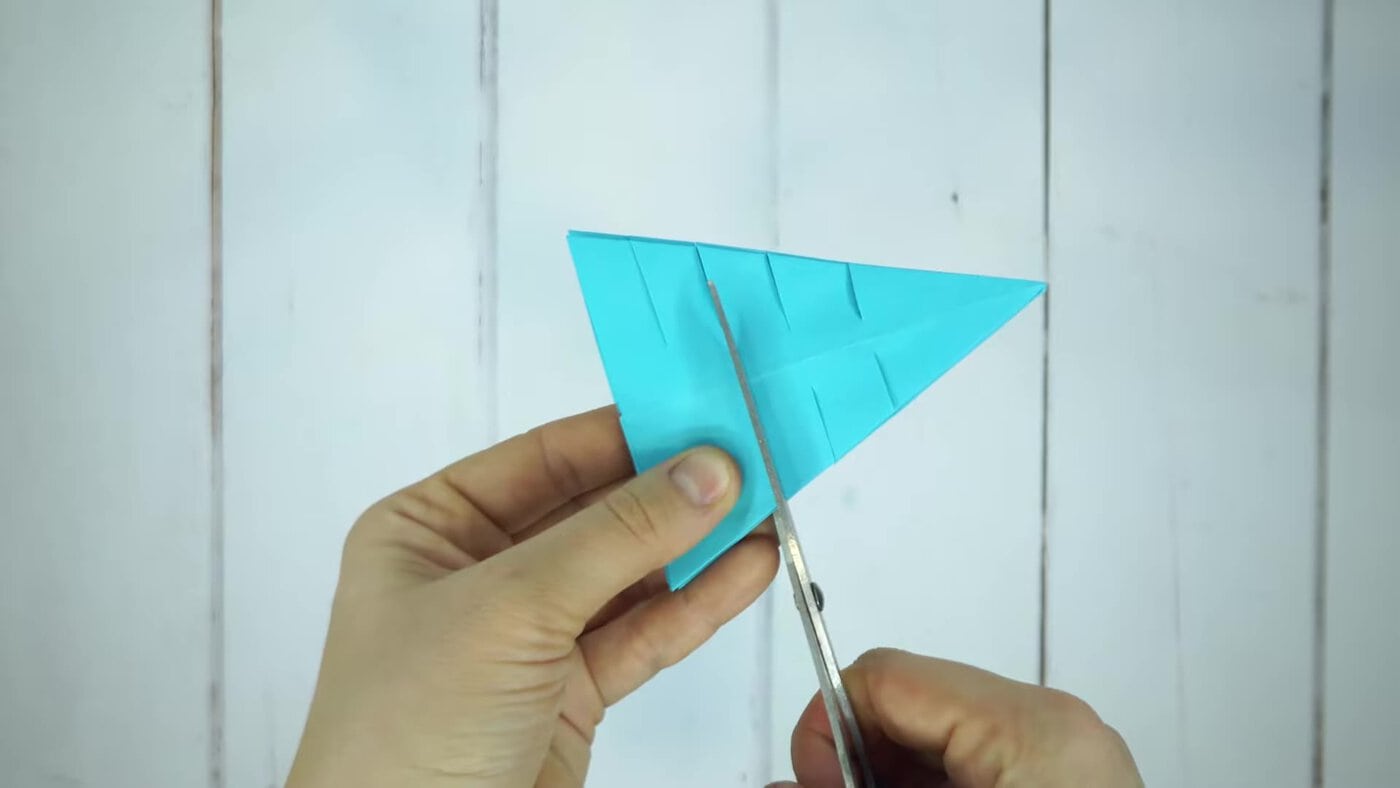
Fold the corner of each cut piece downwards to make a small triangle, so it looks like a branch. Do this all the way up both sides, on every layer.

Gently open the layers out so they fan round the middle, then stand your paper Christmas tree up on the table.
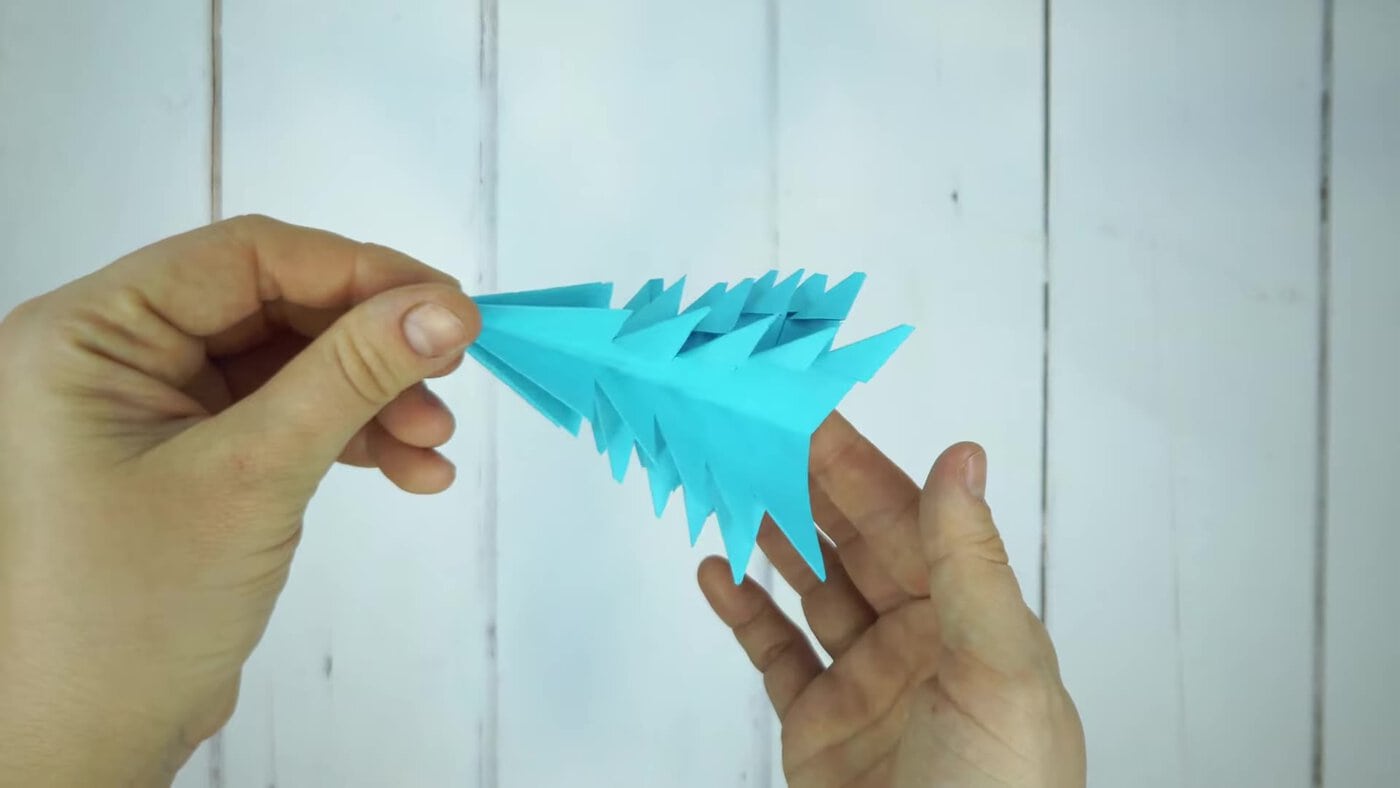
Video Tutorial for a 3D Paper Christmas Tree
Looking for more paper decorations? Try our 3D paper snowflake or classic paper snowflakes for the window.
Who Does Which Step?
- Ages 5–6: an adult folds the square base and the layers (steps 1–6) and cuts the slits. The child folds the branch tips down and opens the tree out.
- Ages 7–9: can do the folding with an adult showing each step first. Cutting through all the layers at once is hard work for small hands, so an adult may need to help with the slits.
- Ages 10 and up: can make the whole tree, and try different sizes for a forest.
Tips for Success
| Problem | Why it happens | Fix |
|---|---|---|
| The paper won’t collapse into a square | The creases are weak, or one fold is the wrong way | Re-crease every fold firmly; the X folds and the + folds are made from opposite sides |
| The tree falls apart at a slit | A cut went too close to the centre | Keep the middle third uncut (step 7) |
| Scissors won’t cut through | Thick paper or too many layers | Use thin paper, or open the layers like a book and cut half of them at a time, lining the slits up |
| The tree leans or won’t stand | The bottom cut isn’t straight | Cut straight across where the flaps end (step 5), then spread the layers evenly |
| Layers spring shut | They haven’t been opened far enough | Open each layer out and press the fold at the centre lightly |
Ways to Display Your Trees
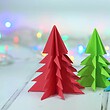
Three or four trees of different sizes make a small forest on a table, mantelpiece or windowsill. Different colours look cheerful; white paper looks like a snowy forest. To keep one for next year, fold the layers closed again and store it flat in a box, then fan it back out in December. Paper burns easily, so keep the trees away from candles and hot bulbs (LED fairy lights stay cool, so they’re fine).
Frequently Asked Questions
Is this an origami Christmas tree?
Almost. Steps 1 to 5 are a traditional origami fold (the square base), but strict origami uses no cutting (folding with cuts is often called kirigami), and this tree uses scissors to make the branches. That makes it quicker and easier for children than a fully folded origami tree.
Can I hang it on the tree?
Yes, a small one. Make it from a 10–15 cm square, tape a loop of thread inside the layers at the top point, and hang it from a branch. Fan the layers out before you hang it so it keeps its shape.
Can I decorate it?
Yes, lightly. Draw on it with felt tips or add a few small stickers or a paper star on top before you open the layers out. Heavy decorations such as pom-poms or beads make it tip over, and glitter glue soaks the thin paper.