
-
 5-8 , 9-10 , 12+
-
 1 to 2 hrs
-
 Normal
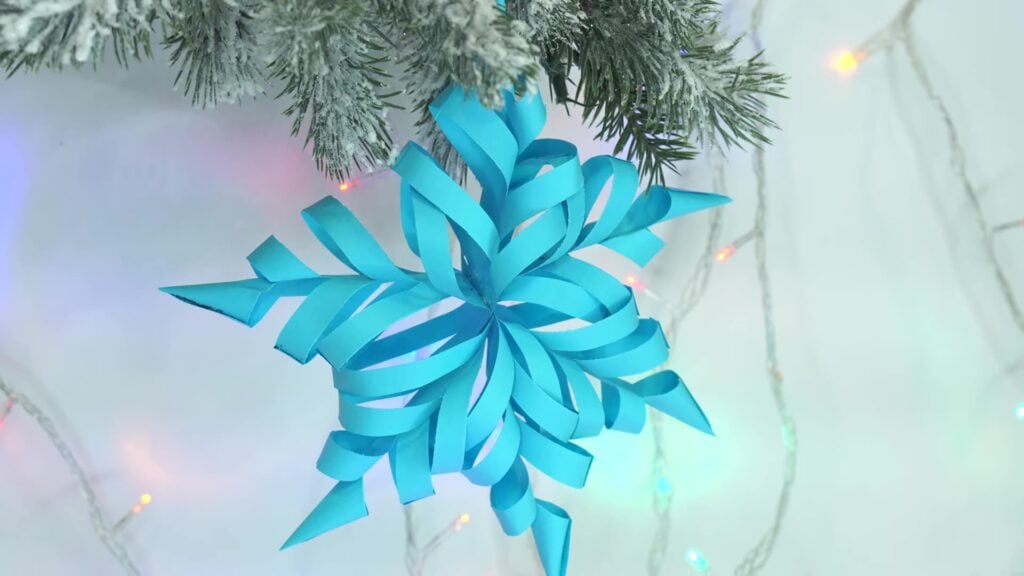
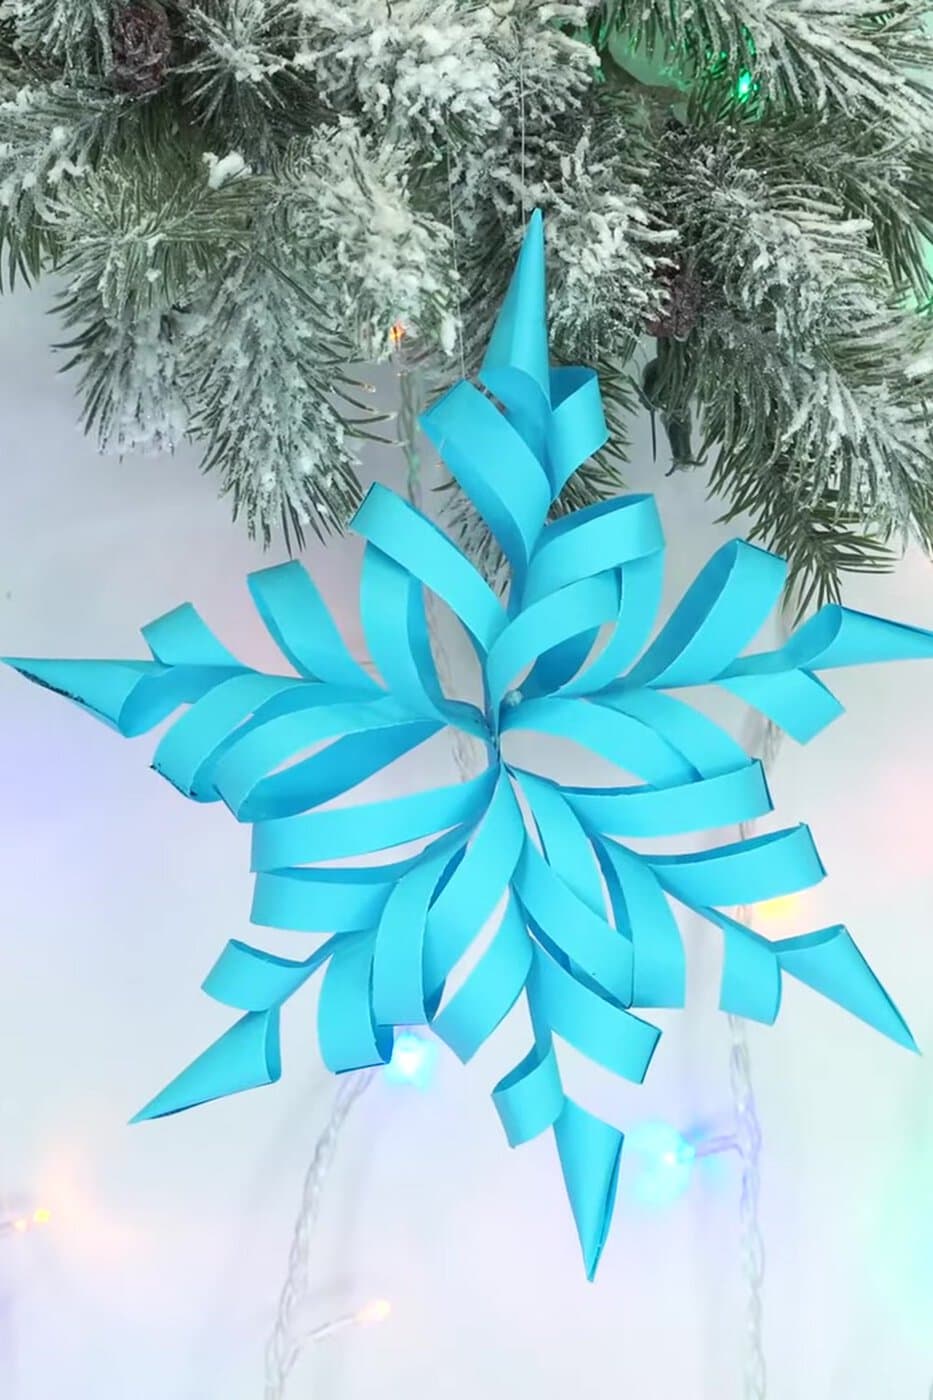
This 3D paper snowflake starts as one flat sheet of coloured paper and ends up as a big, curly star to hang on the Christmas tree or in a window. You cut six squares, snip and curl each one into an arm, then glue the six arms together, so it has six points like a real snowflake. All you need is scissors and a glue stick. Children from about five can curl and glue the arms with an adult’s help; older children can make the whole thing.
List of Materials
Ordinary printer or craft paper (about 80 gsm) curls easily and holds its loops. Very thin paper such as tissue tears and goes floppy, and thick card is hard to curl and cut through when folded. Double-sided coloured paper looks best, because you see both sides of the loops. With 10 cm squares the finished snowflake is about 25 cm across. For a smaller snowflake, use smaller squares; for a bigger one, cut each square from a larger sheet.
Step by Step Instructions
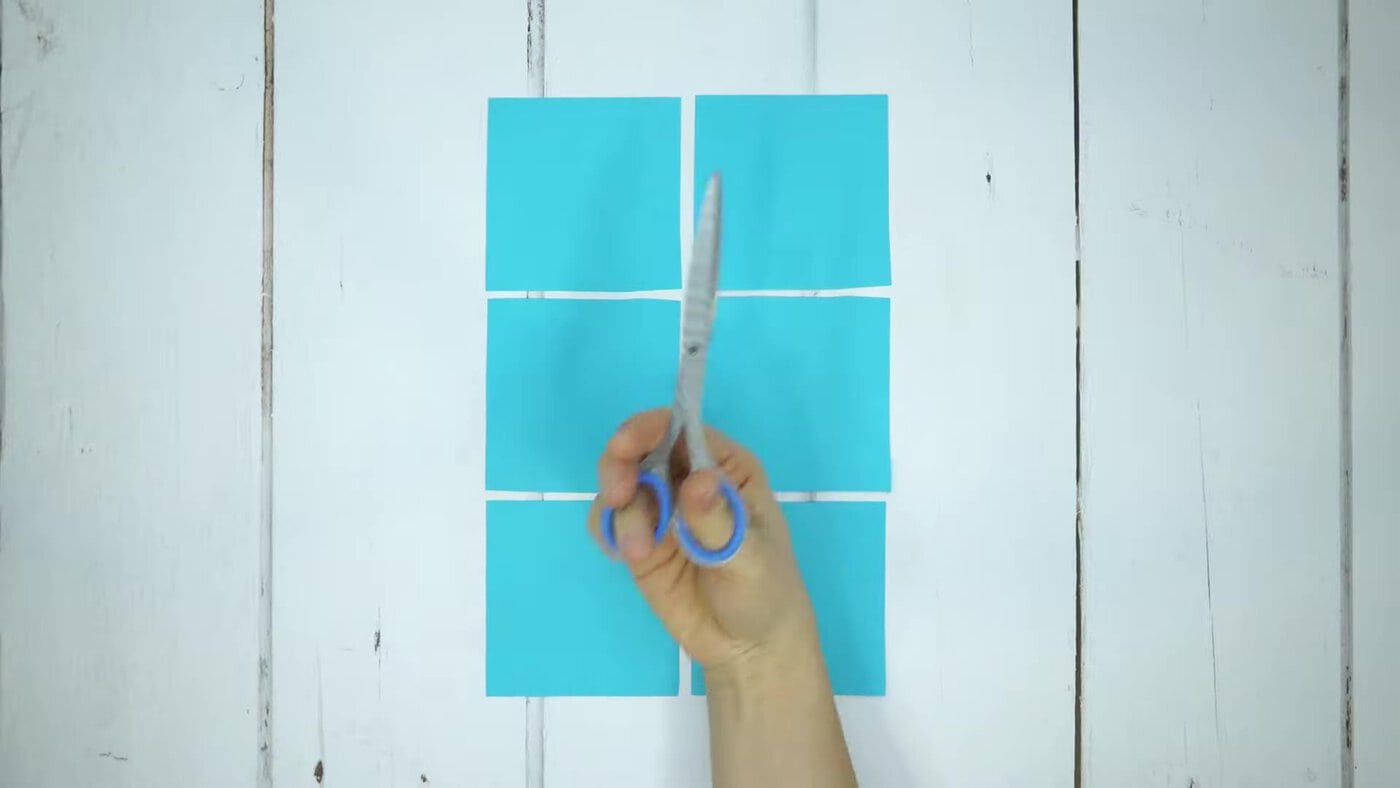
Cut the sheet into six pieces: two across and three down. On A4 these come out almost square (about 10.5 × 10 cm), so trim each one into a square: fold one corner down to the opposite edge and cut off the thin leftover strip (about 5 mm). Make all six the same size, or the finished snowflake will be lopsided.
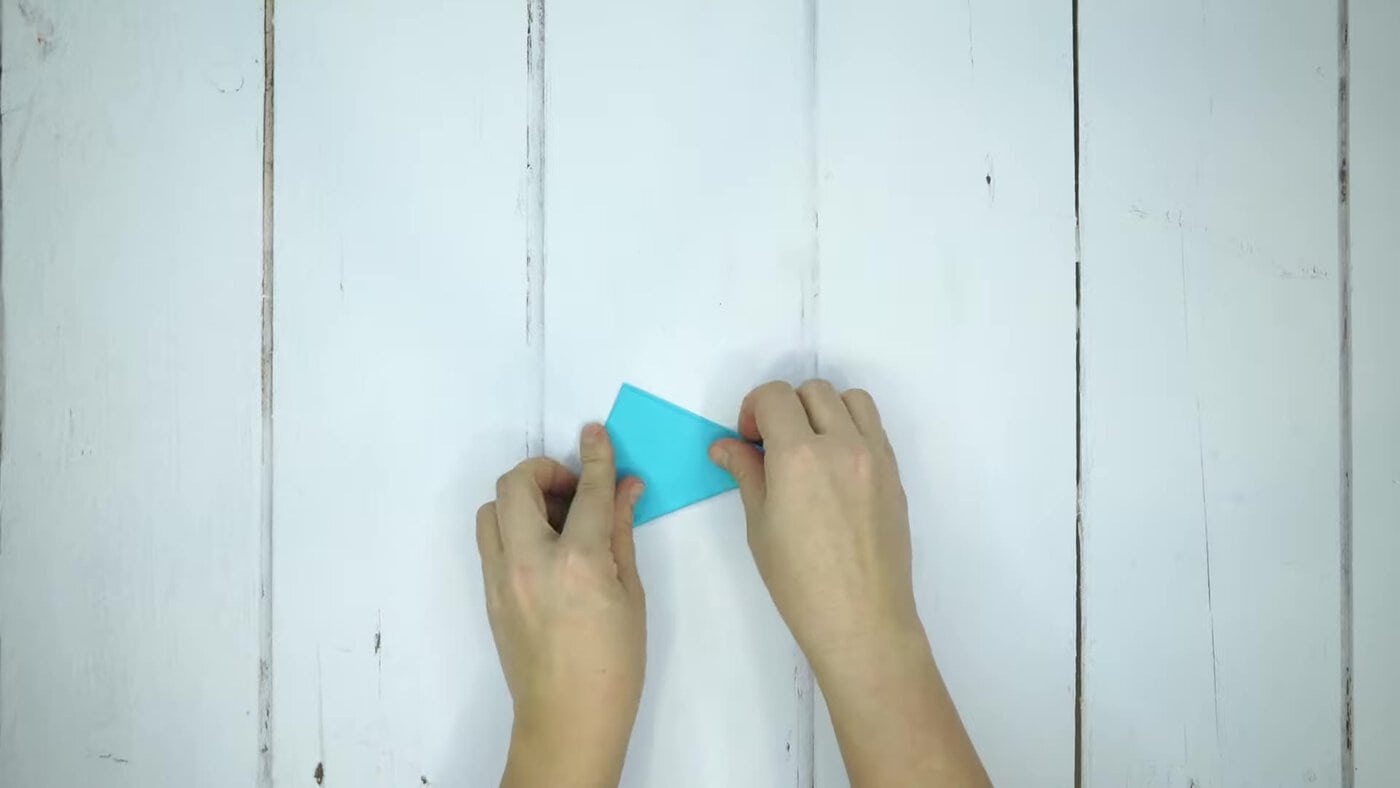
Fold one square in half corner to corner to make a triangle, then fold the triangle in half again to make a smaller triangle. Press the folds flat.
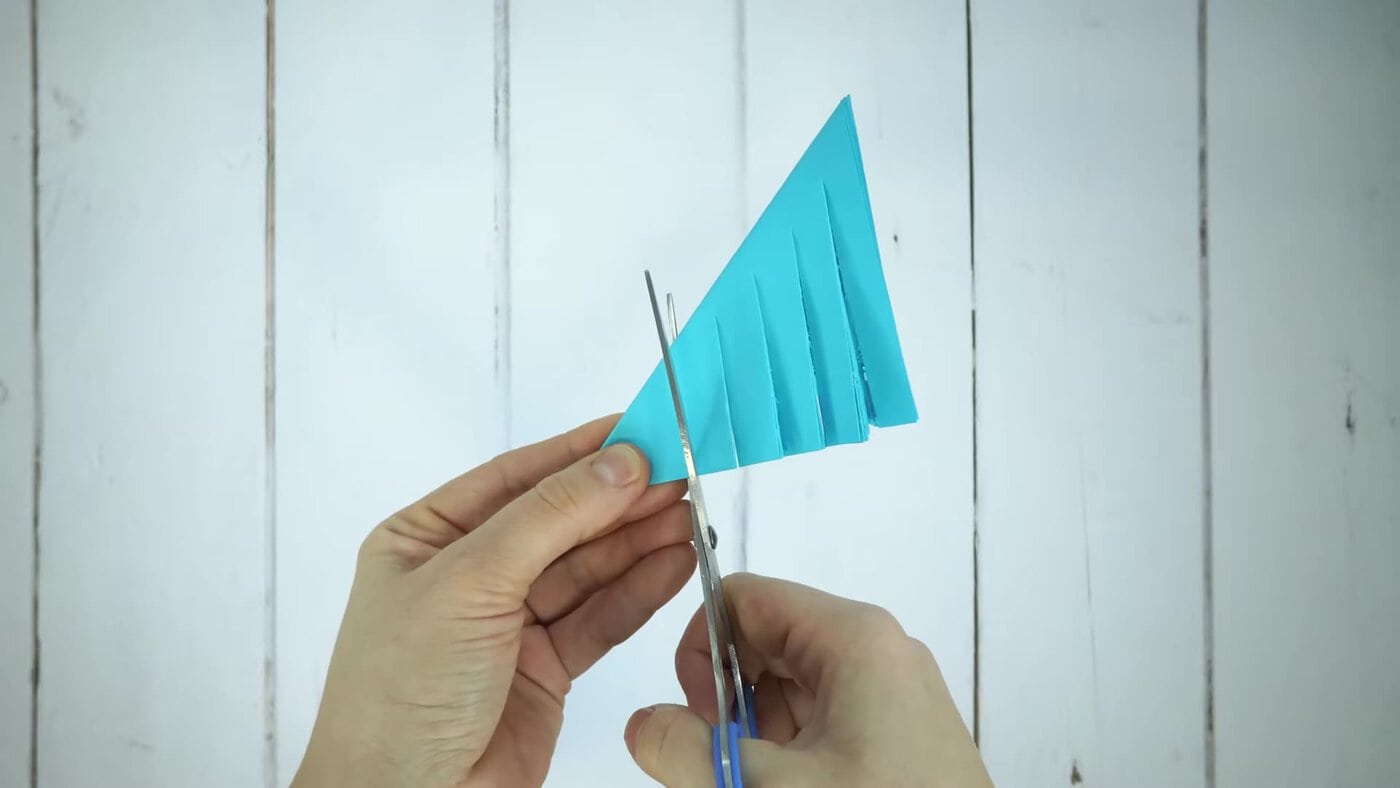
Hold the triangle with its long edge (where the loose edges of the paper are) at the top. Cut slits about 1 cm apart, starting from that long edge and running parallel to your second fold. Stop each cut about 1 cm before the other folded edge (your first, corner-to-corner fold: it becomes the crease down the middle of the arm), or the arm will fall apart.
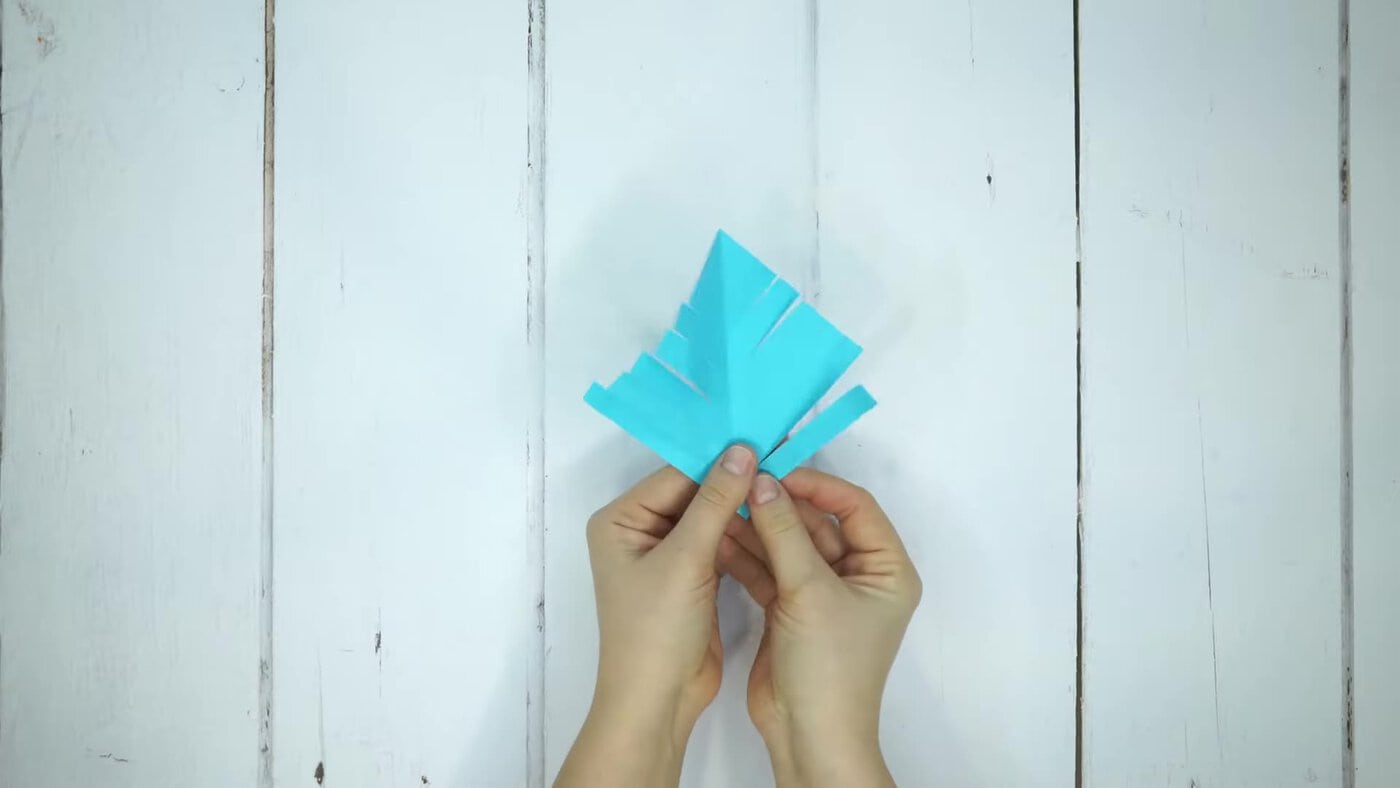
Unfold the paper. You now have a diamond with a crease down the middle (the first fold) and strips running in towards it from both sides.
Put a little glue on the end of a strip, curl it towards the middle and press it down on the centre crease for a few seconds. Do the same with every strip, curling them all towards the same side (the front), working along both sides. The uncut top corner stays as the tip of the arm.
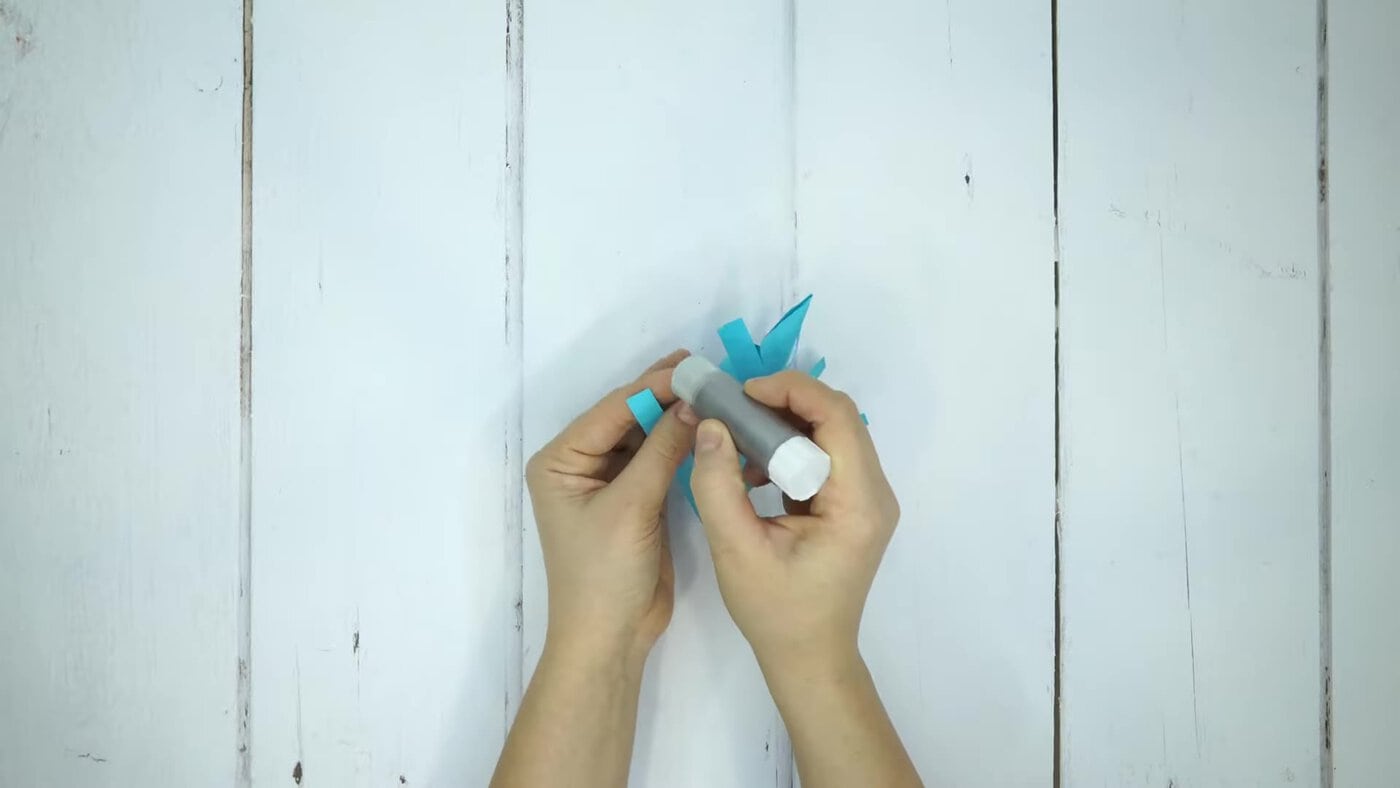
Repeat steps 2–5 with the other five squares, so you have six curly arms.
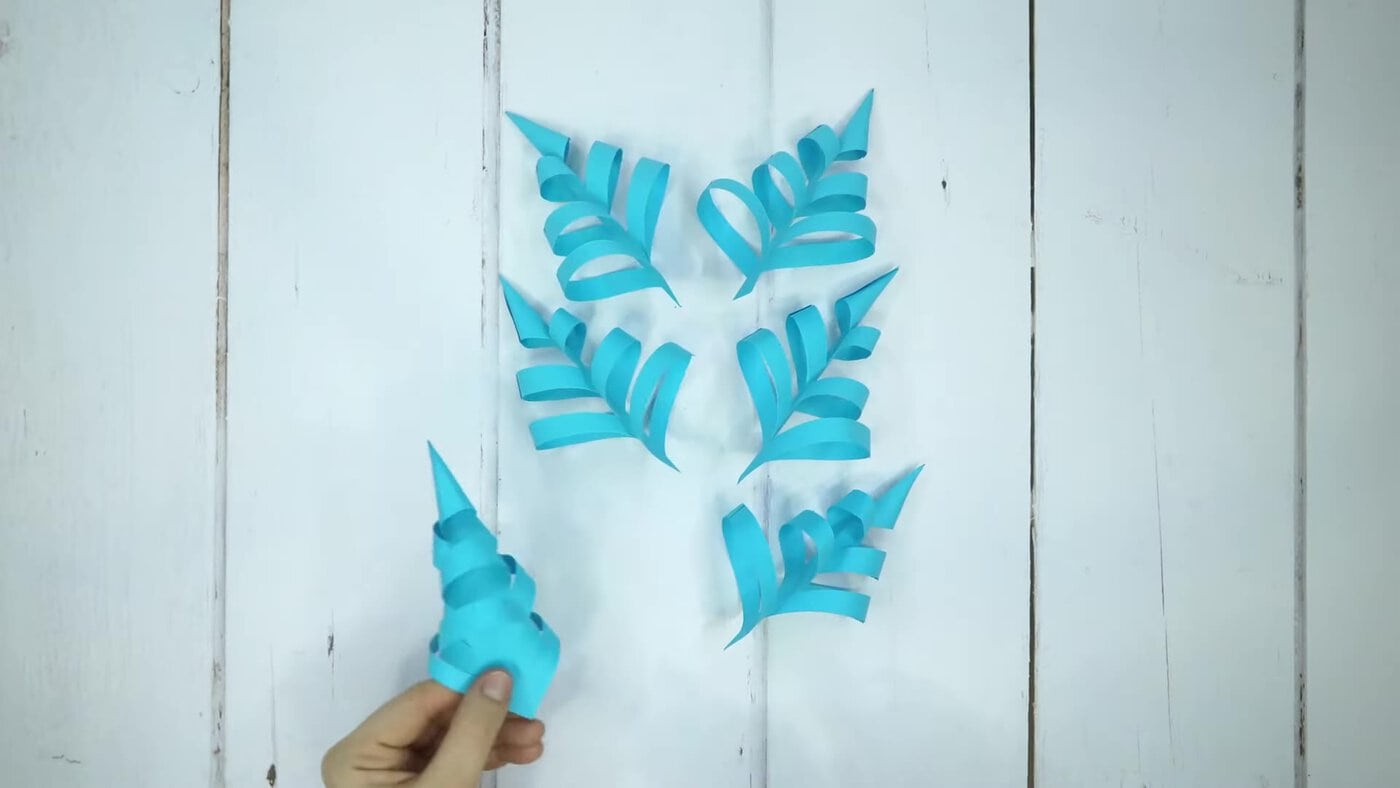
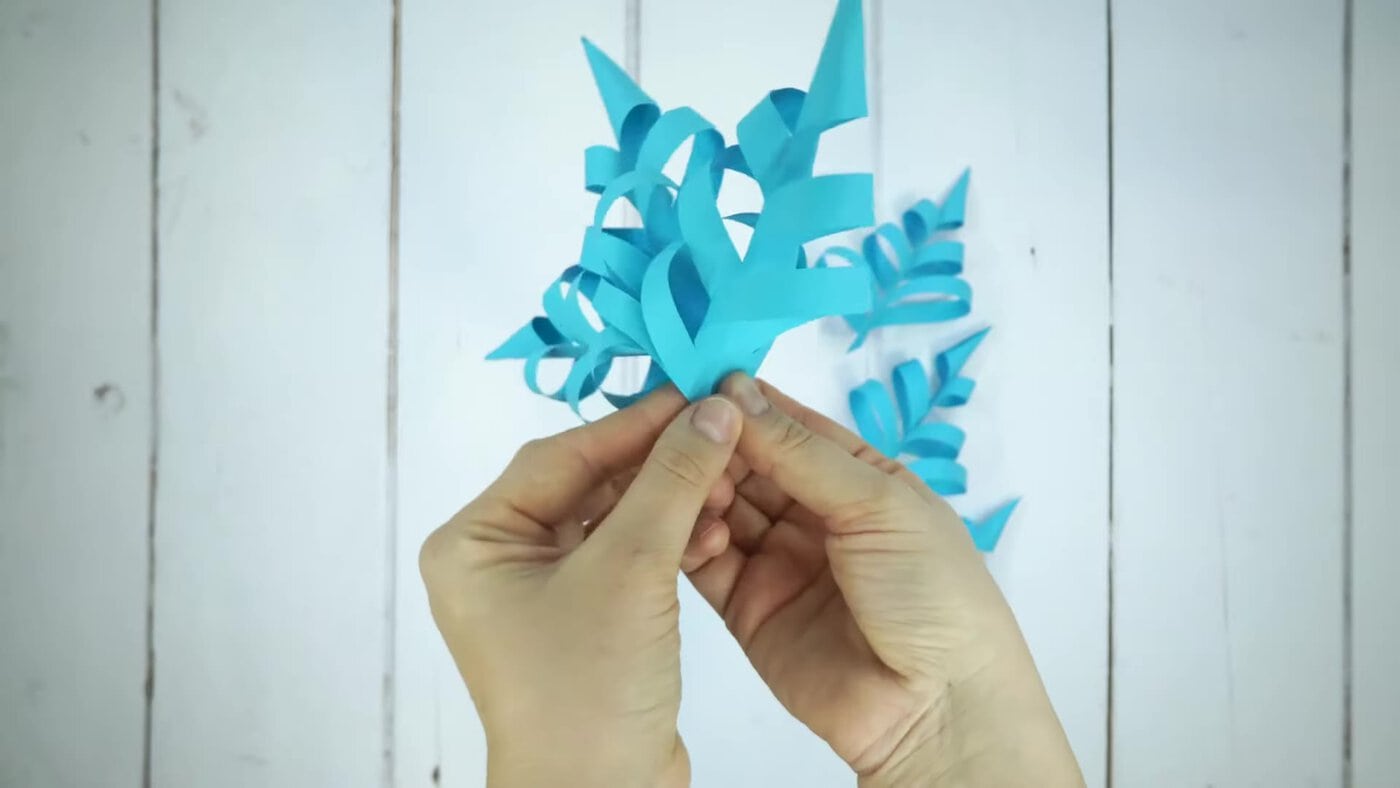
Glue the arms to each other at their bottom corners, one at a time, with the points facing outwards, until the six arms make a ring. Hold each join for a few seconds.
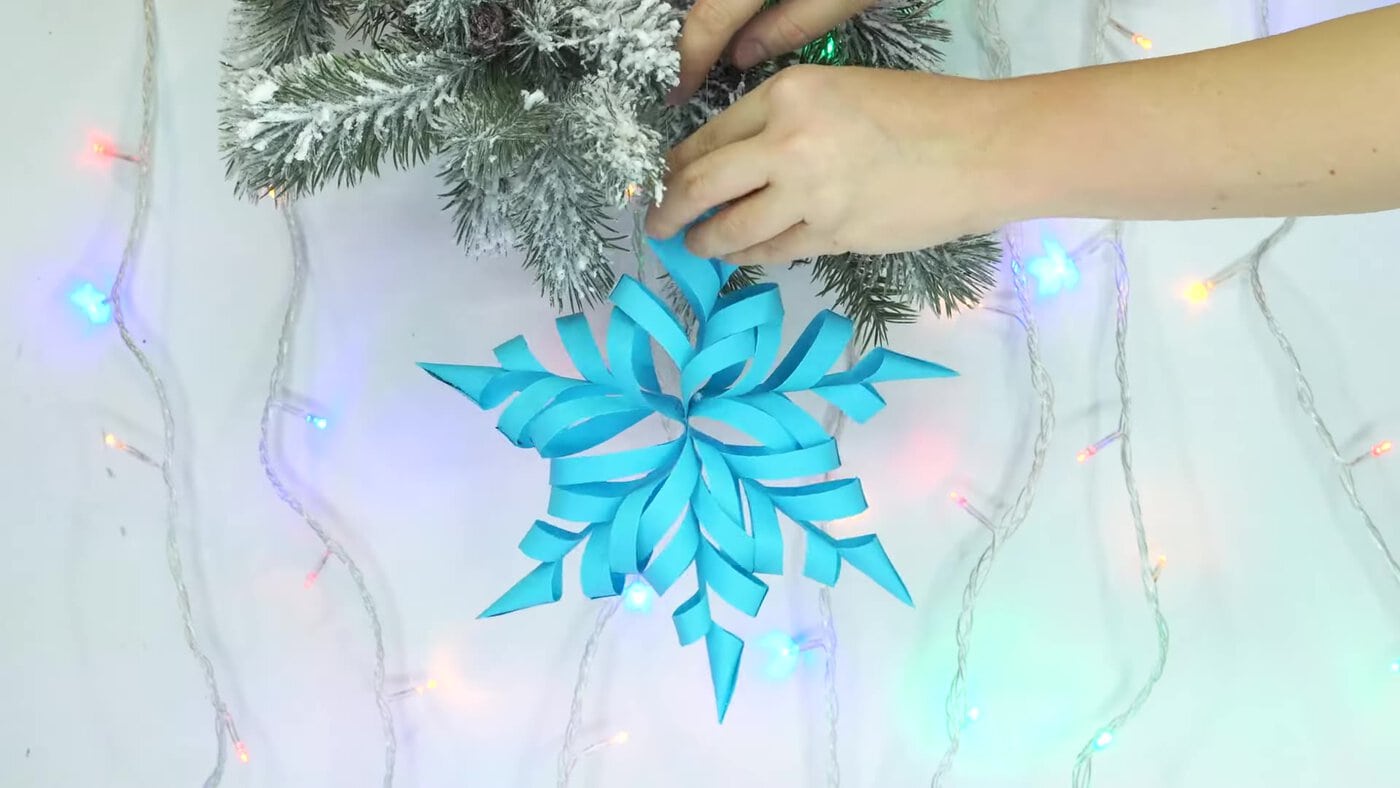
Hang your paper snowflake star on the tree or in a window.
Video Tutorial for a 3D Paper Snowflake
Want a flat version for the window too? Try our paper snowflakes, or make DIY photo ornaments for the grandparents’ tree.
Who Does Which Step?
Children aged five and up can help make a 3D paper snowflake: an adult cuts, the child curls and glues.
- Ages 5–6: an adult cuts the squares, folds them and cuts the slits. The child curls and glues the strips and picks where to hang it. With six arms to curl, it’s fine to split it over two sittings.
- Ages 7–9: fold, cut the slits and curl the strips. An adult helps glue the six arms together, which is the fiddliest part.
- Ages 10 and up: can make the whole snowflake, and make a few in different colours and sizes.
Tips for Success
| Problem | Why it happens | Fix |
|---|---|---|
| The arm falls apart | A slit was cut right through to the fold | Stop every cut about 1 cm before the fold |
| Loops are different sizes | Slits aren’t evenly spaced | Draw pencil lines on the folded triangle first |
| Strips spring open | Not enough glue, or not held long enough | Add a little more glue and hold each loop for a few seconds |
| The last arm won’t stay | Little room to press the final join | Glue it in two places, or use a stapler there (adult) |
| The snowflake flops | The paper is too thin | Use printer or craft paper, not tissue or thin wrapping paper |
| It looks lopsided | The squares weren’t the same size | Cut all six from one sheet in a neat grid, then trim each to a square |
How to Hang Your Snowflake
Tie a loop of thread or thin ribbon around the tip of one arm, or through one of the loops near the top, and hang it from a branch, a curtain rail or a window catch. A few snowflakes in different sizes look lovely hung at different heights. To keep one for next year, store it flat-side down in a box on its own, so nothing squashes the curls.
Frequently Asked Questions
What is a 3D paper snowflake?
It’s a paper snowflake with depth. Each of the six arms is made from a cut square whose strips are curled into loops, so the finished snowflake stands out from the wall instead of lying flat. Children’s crafts often call it a paper star, because it is star-shaped.
Can I use a stapler instead of glue?
Yes, for joining the arms. A stapler (used by an adult, or an older child with an adult nearby) holds the last, fiddly join faster than glue. For the curled strips, a glue stick is easier, because a staple through a small loop squashes it flat.