

-
 3-4 , 5-8 , 9-10
-
 20 to 60 min
-
 Easy
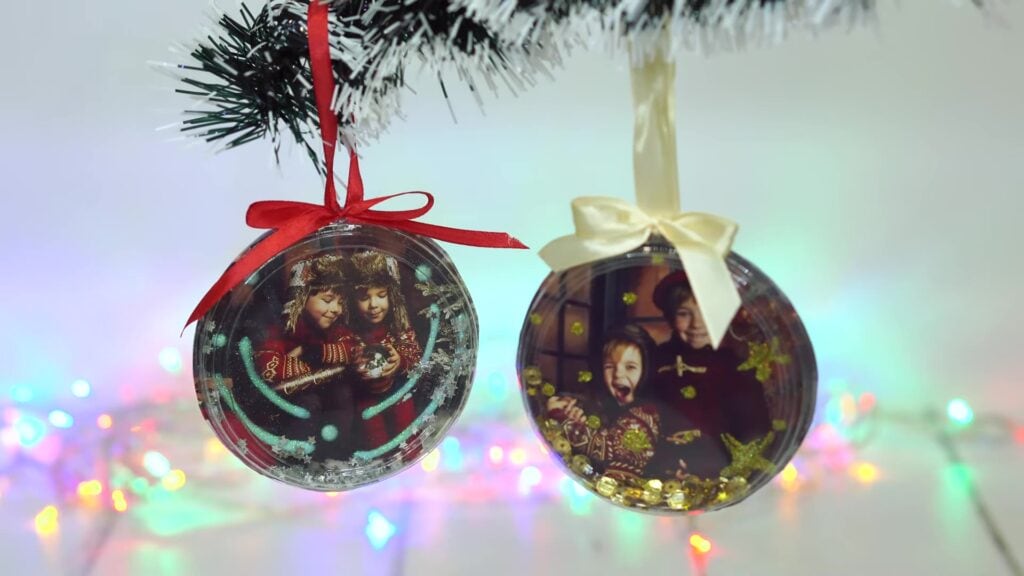
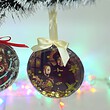
These DIY photo ornaments turn a printed family photo and a clear plastic lid into a sparkly Christmas decoration. We first made them with photos for the grandparents, and then the boys wanted ones with their own pictures. Children trace, glue and glitter the photo; an adult does the hot glue. Star confetti sealed inside the lid moves when you shake it, and the plastic won’t shatter if it falls off the tree.
List of Materials
The lid sets the size of the ornament, so pick the photo after you pick the lid. Faces should sit in the middle of the circle. A photo printed at a shop or on photo paper works best: ink from a home inkjet printer can smear when wet glue goes on the front, so test a corner first. Sequins or small paper punch shapes can replace the confetti.
Step by Step Instructions
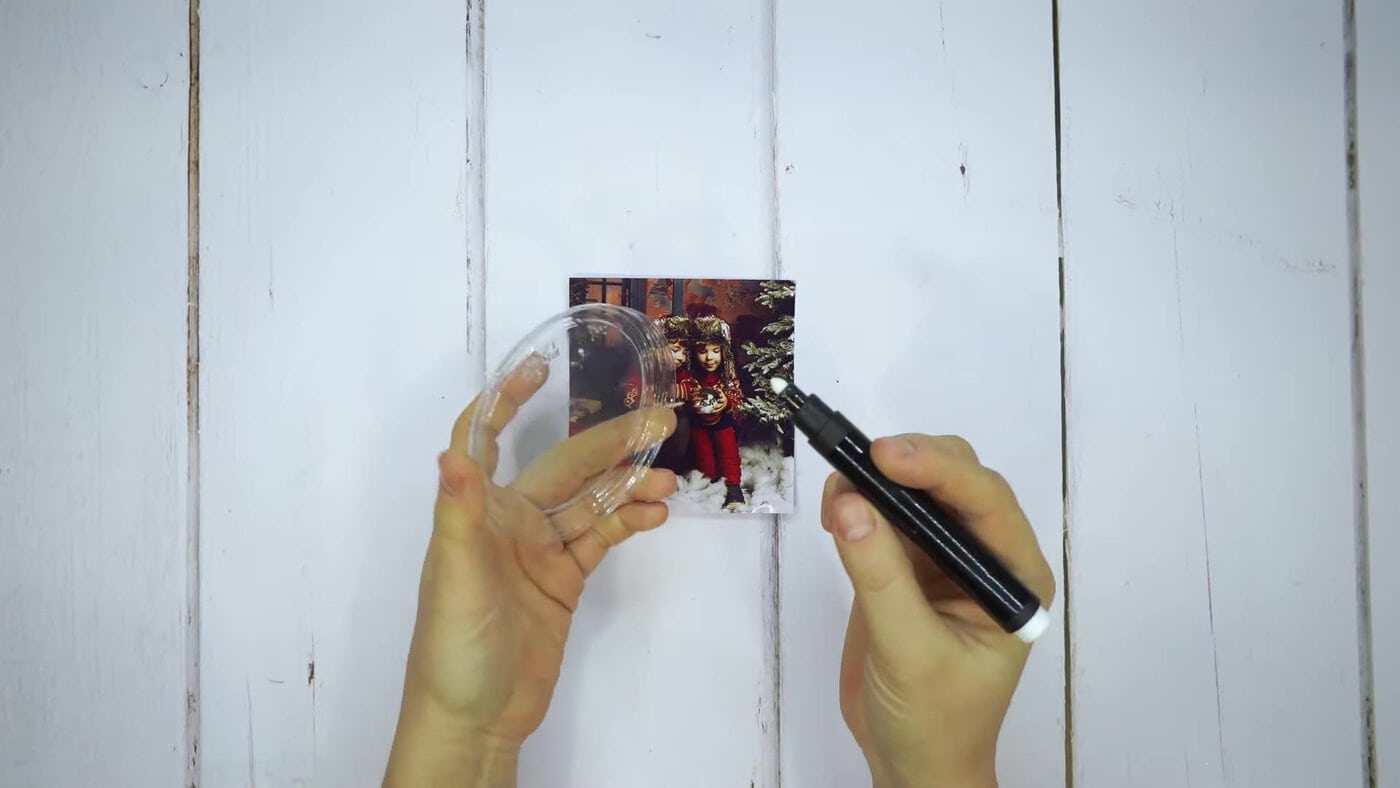
Lay the lid on the photo, with the faces in the middle, and trace around the outside of the lid with the marker. Cut the circle out about 2–3 mm inside the line, so it fits inside the lid’s rim. Younger children can trace while an adult cuts.
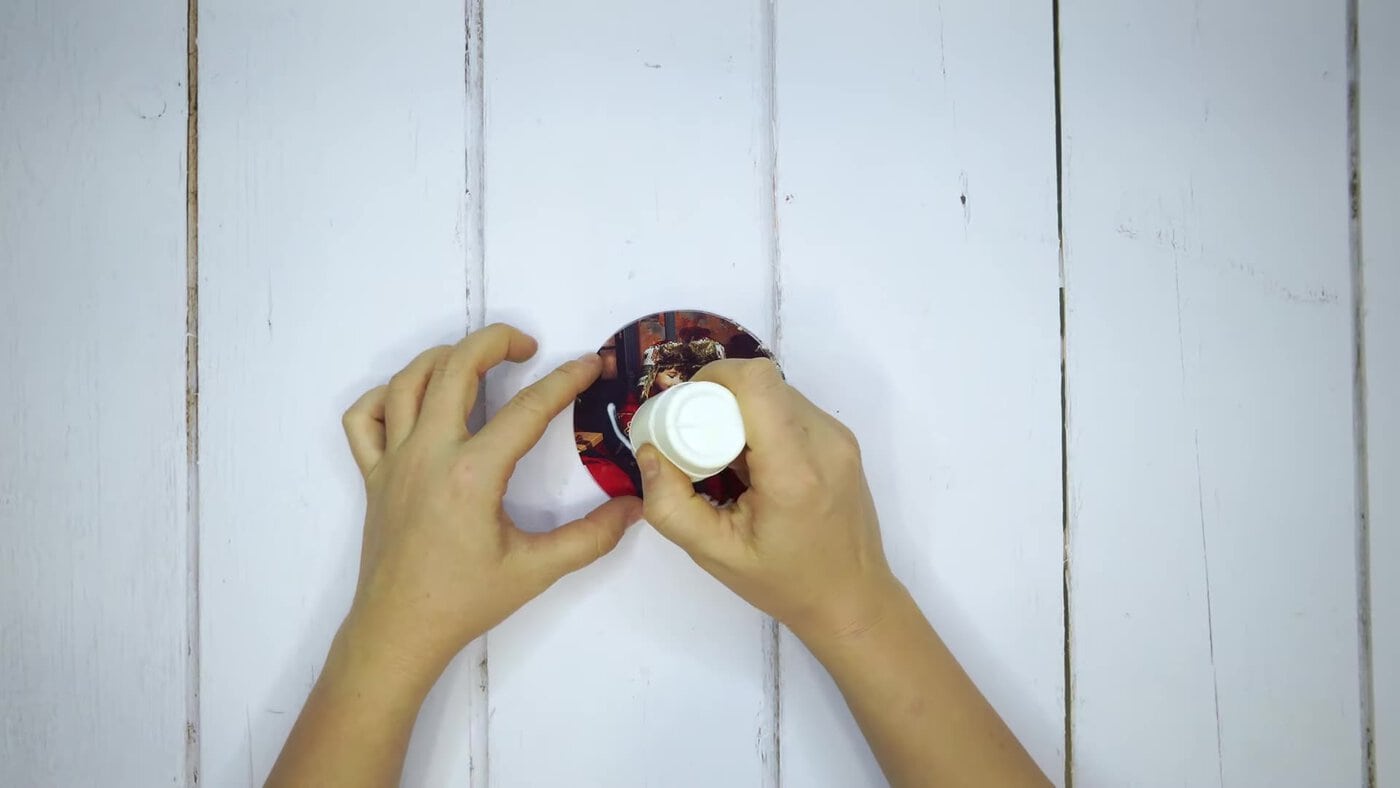
Draw patterns on the photo with the glue: swirls, arcs, dots or a frame around the edge. Keep the glue off the faces.
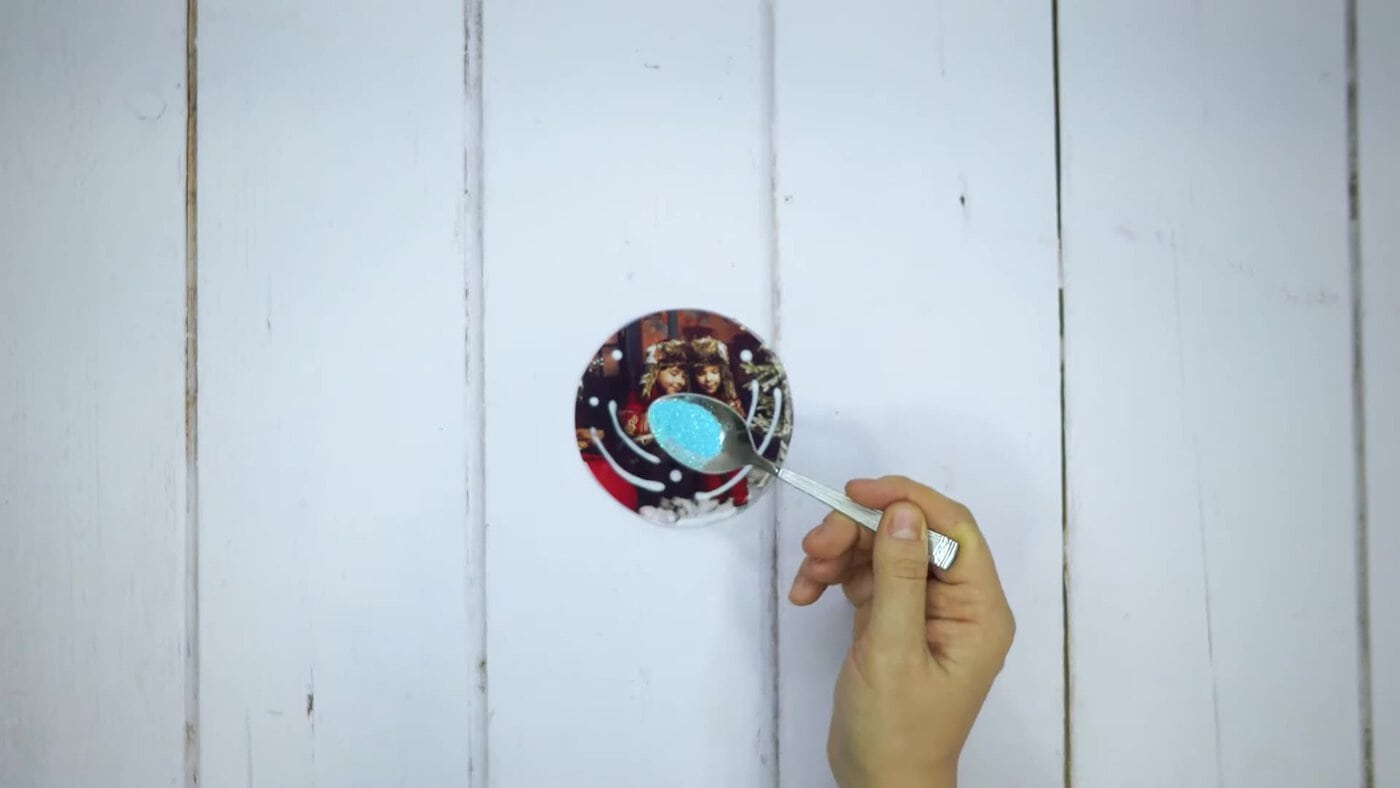
Spoon glitter over the wet glue, then tip the extra off onto the tray. Let the glue dry completely before the next step (about half an hour), so the glitter doesn’t smear.
Pour a small spoonful of glitter confetti into the clear lid.
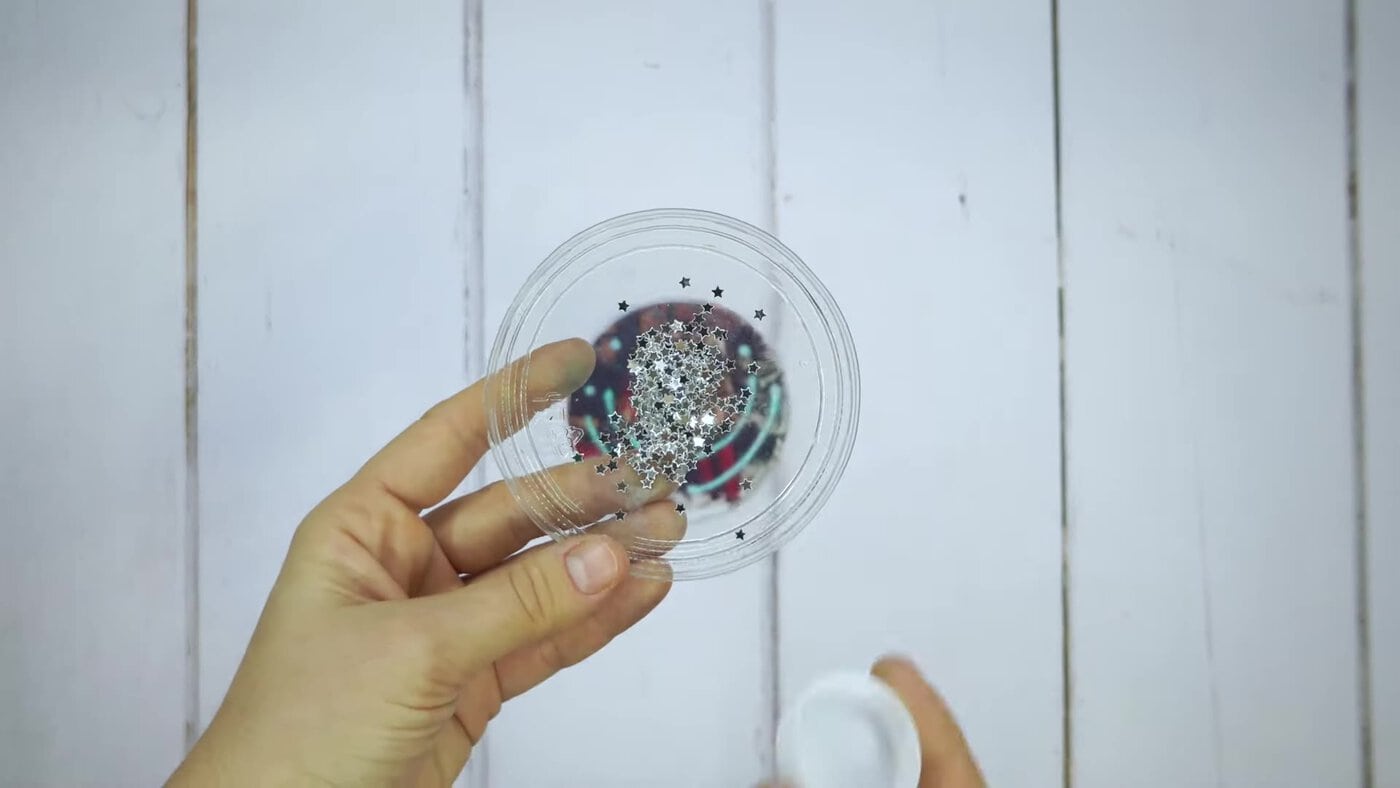
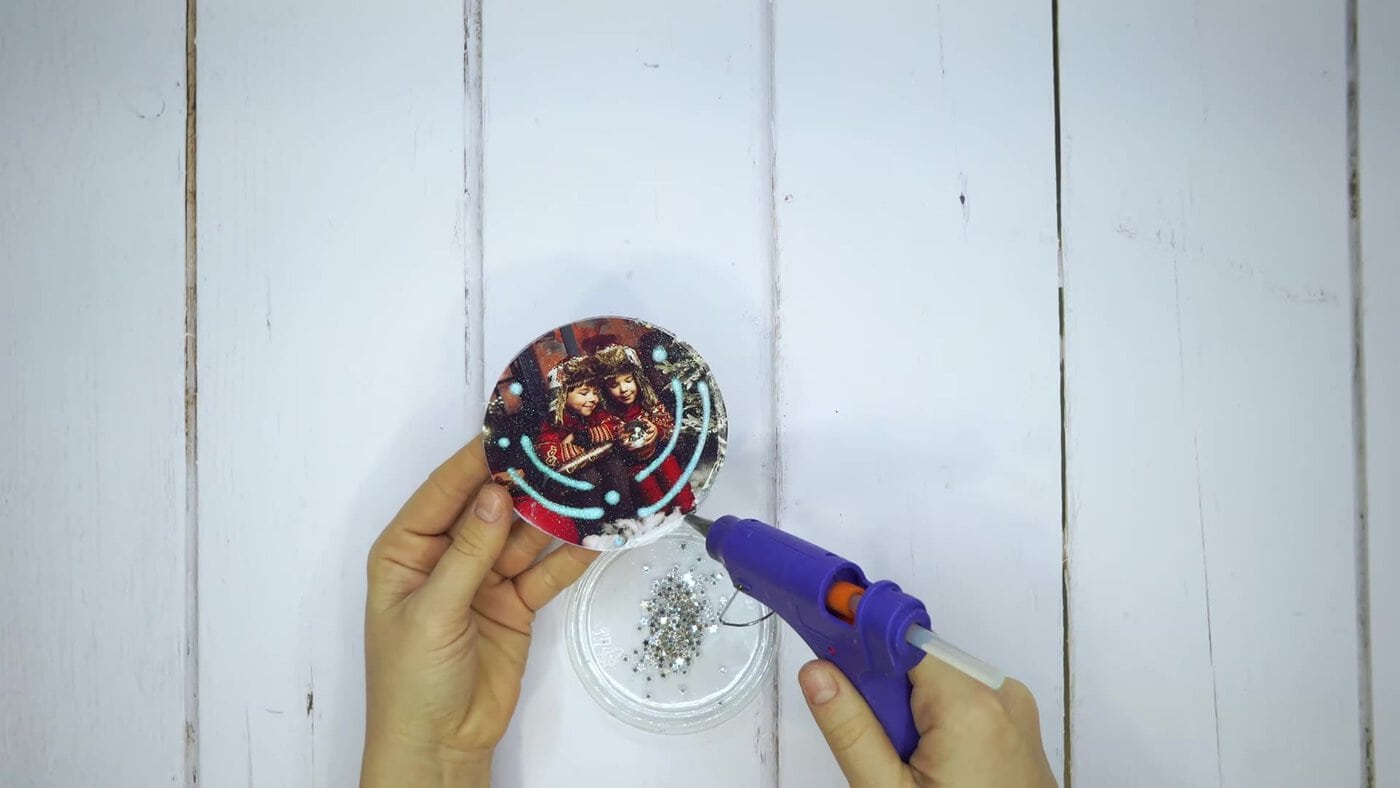
Adult step: run a thin line of hot glue around the edge of the photo. Press the photo, picture side down, into the lid, so the confetti is trapped inside and the picture shows through the clear plastic. Glue only the rim, so no glue shows on the front.
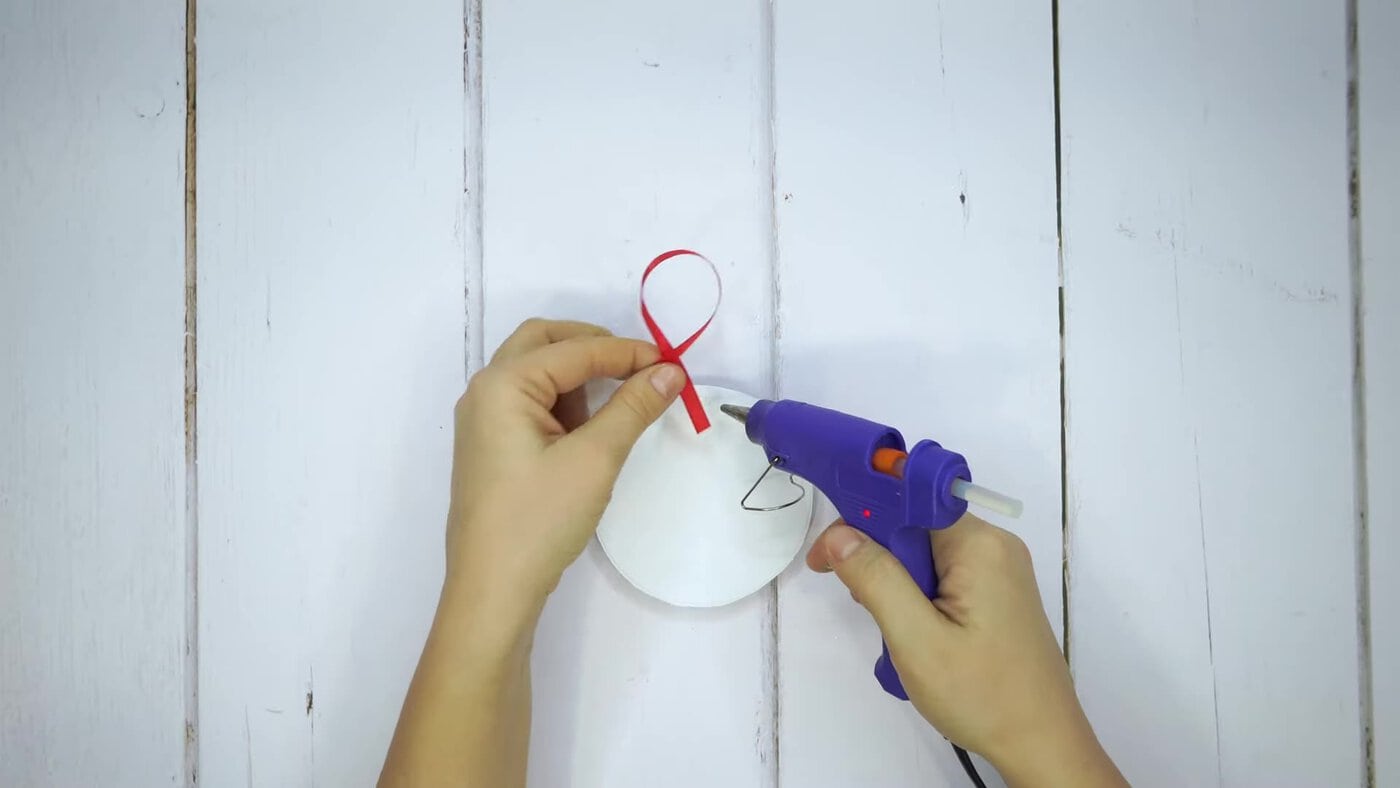
Adult step: fold a short piece of ribbon into a loop and glue its ends to the top of the back of the ornament.
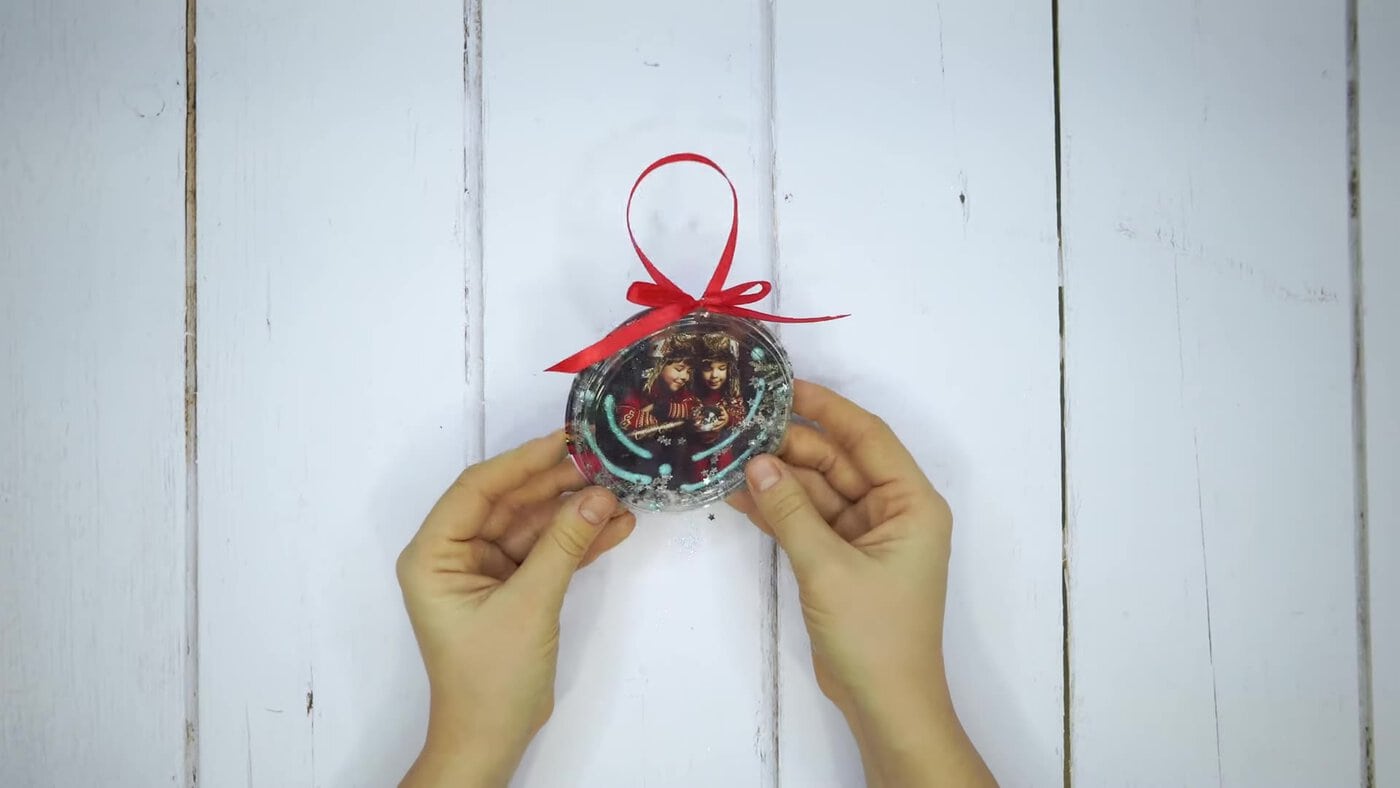
Tie a small bow. Adult step: glue it to the front with a dot of hot glue, just under the loop. Your ornament is ready to hang.
Video Tutorial for DIY Photo Ornaments
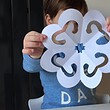
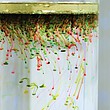
Making more decorations this December? Cut a window full of paper snowflakes, or try our colour changing chameleon craft on a rainy afternoon.
Who Does Which Step?
- Ages 3–4: choose the photo, draw glue lines, spoon on glitter and confetti, pick the ribbon. An adult traces, cuts and does all the hot glue.
- Ages 5–8: trace and cut the circle, decorate it, and tie the bow. An adult does the hot glue.
- Ages 9–10: trace, cut, decorate and tie the bow. An adult glues the photo, the loop and the bow (or the child uses a low-temperature gun with an adult right next to them).
Tips for Success
| Problem | Why it happens | Fix |
|---|---|---|
| The photo won’t sit flat in the lid | The circle was cut on the line, so it’s as big as the outside of the lid | Trim a few millimetres off the edge |
| The ink smears | Wet glue on a home inkjet print | Use a shop or photo-paper print, or test the glue on a corner first |
| The photo wrinkles | Too much wet glue soaks the paper | Draw thin lines, not puddles, and let them dry flat |
| The lid goes wavy | Hot glue softens thin plastic | Use a low-temperature gun and a thin line |
| Hot glue shows on the front | Glue spread inside the rim | Use a thin line on the very edge only |
| Confetti leaks out | A gap in the glue around the rim | Run a second thin line of glue over the gap |
Make It a Keepsake
Write the child’s name and the year on the white back with a permanent marker before you glue on the loop. Grandparents love getting a new one each Christmas, and after a few years the set shows how the children have grown. A photo of the whole family, a pet or last summer’s holiday works just as well.
Frequently Asked Questions
Can I turn any photo into a Christmas ornament?
Yes. Any printed photo works: a shop print, photo paper or a home print (test the glue on a corner first, as inkjet ink can smear). Choose one where the faces are big enough to show inside the circle, and print it a little larger than your lid.
How do you make clear ornaments with pictures inside?
Glass balls need the photo rolled up and pushed through the narrow neck, which is fiddly and breakable. A flat clear lid gives the same “picture behind glass” look, and children can do most of it themselves.
Can I make my own personalised baubles without a glue gun?
Strong double-sided tape around the rim can hold the photo in the lid, but test it first: not every glue or tape grips smooth plastic. If you leave the confetti out, there’s nothing to leak.